
 MartinShields
You might discover a sagging floor just as you’re planning to restore the room above it—a coincidence that can reveal a deeper problem with the joists below. Before replacing anything, you’ll need to identify the cause, assess the structure, and choose materials that suit the building’s age and requirements. The work also calls for careful temporary support and precise installation, but one overlooked detail can undermine the repair.
Key Takeaways
- Inspect the floor for sagging, decay, insects, moisture, and structural defects; document findings before disturbing historic materials.
- Survey joist dimensions, spacing, spans, bearings, and timber species; consult a structural engineer when design requirements are uncertain.
- Support the floor safely before removal, protecting walls, chimneys, services, finishes, and the ground beneath temporary props.
- Install correctly sized joists on sound bearings, then reinstate boards in their original direction where practical.
- Check fixings, level, movement, ventilation, and service access; finish with compatible skirting and thresholds before reoccupation.
Inspect the Floor and Find the Cause
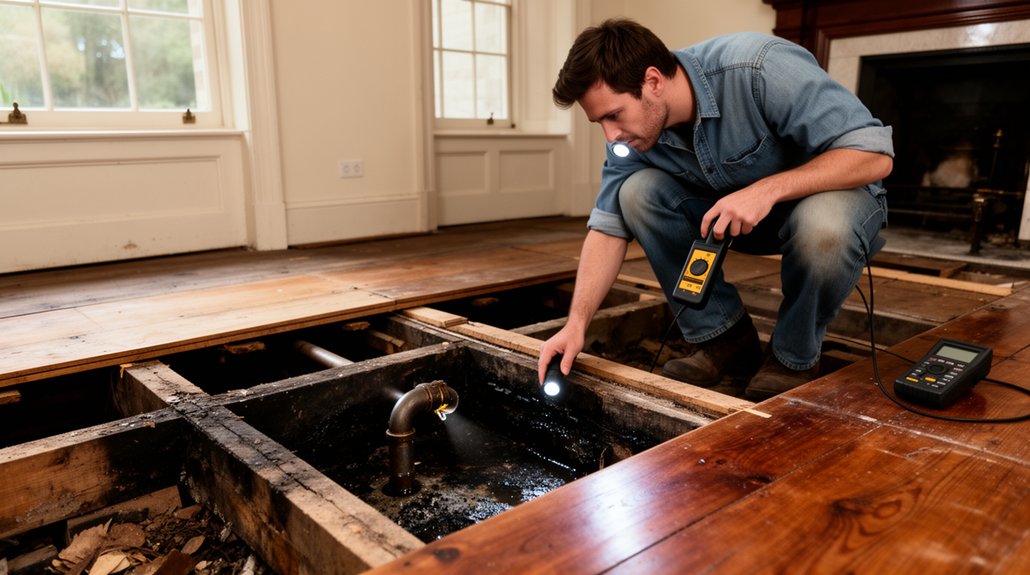
Before replacing a floor or its joists, find out what caused the damage. Check for sagging, springy boards, gaps, and uneven surfaces, then inspect the floor from below if you can access the area safely. Look for damp, fungal decay, insect activity, cracked joists, and failed supports. Don’t assume a visibly damaged board explains movement across the room.
Trace moisture to its source: leaking pipes, poor drainage, or inadequate ventilation can keep damage returning. Note where defects occur and whether they follow a wall, fireplace, or past alteration.
In period properties, original materials and construction details can reveal how the floor was intended to work. Record what you find before disturbing anything; photographs and measurements help you assess floor stability and preserve historical accuracy.
If damage is extensive, ask a structural professional to investigate.
Plan Joist Replacement and Choose Materials
Once you’ve identified the cause and extent of the damage, plan the repair around the floor’s original construction. Check joist dimensions, spacing, span, bearing points, and timber species before specifying replacements.
Your new joists should match the existing structure’s load capacity and fit without forcing changes to historic walls or finishes. If you can’t confirm the design, consult a structural engineer experienced with period buildings.
Choose timber for both historic accuracy and material durability. Match the original species where practical, and select sound, appropriately graded wood with moisture content suited to the building.
Avoid treating timber as a substitute for fixing damp or ventilation problems; those causes must stay addressed.
Decide whether you’ll replace only failed joists or renew a larger section, and record measurements and material choices.
Check local conservation requirements before ordering, especially if the property is listed.
Brace the Floor Before Removing Old Joists
Because removing a joist can shift loads and destabilize the floor above, brace the structure before you cut or loosen anything. Identify load-bearing walls, partitions, chimneys, and services that rely on the joists; consult a structural engineer if their load paths aren’t clear.
From below, install temporary supports on firm, level bases, positioning them to carry the affected floor without crushing historic finishes or overloading weak ground. Use suitable needles, props, or a designed support frame, and tighten them evenly until they make contact—don’t jack the floor upward.
Check that supports remain stable and that the floor doesn’t sag or move as you work. Follow site safety precautions, including isolating services and keeping people clear of the work area.
This temporary floor reinforcement must stay in place until the structure is secure.
Install New Joists and Reinstate the Floor
With the temporary supports holding the floor steady, fit each new joist to the surveyed layout and specified dimensions. Seat the ends securely on sound bearings, using suitable plates or hangers where the design requires them. Keep joists level, correctly spaced, and aligned; don’t force them against uneven masonry.
Apply specified timber treatment to cut ends and any areas exposed during fitting, following the product instructions. Install blocking or other floor reinforcement shown in the plan to limit twisting and spread loads.
Once the frame is secure, lay the boards in their original direction where practical, fixing them firmly to each joist. Leave appropriate gaps at edges and around services, and avoid trapping pipes or cables beneath boards.
Work methodically across the room, maintaining support until the new floor carries loads safely.
Check Compliance and Finish the Floor
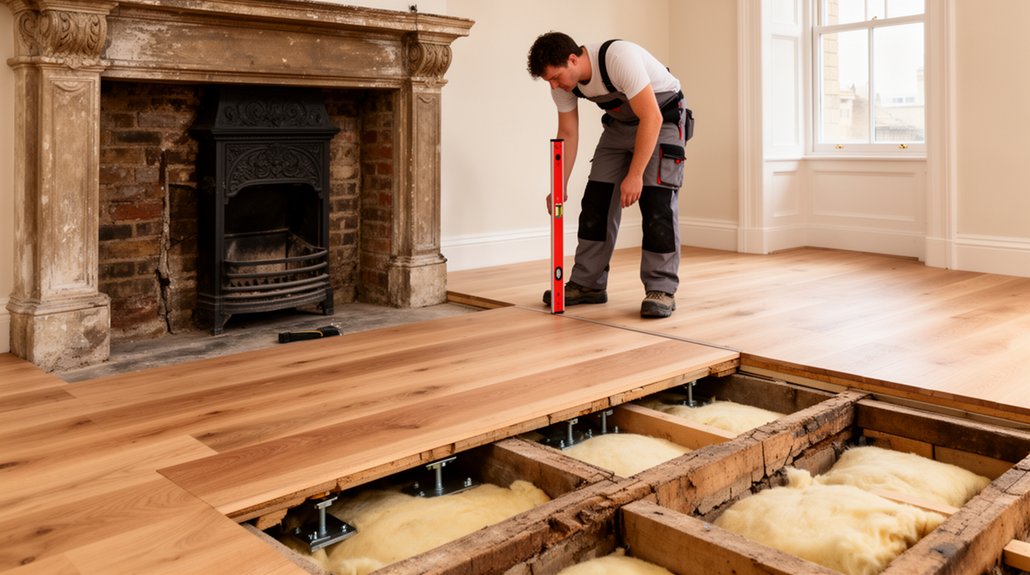
Before removing the temporary supports, check that the joists and boards match the approved layout and that all fixings, bearings, and reinforcement are secure. Confirm that your work meets the structural engineer’s specifications and any building-control requirements. Keep records of materials, measurements, photographs, and approvals for future reference.
Then complete a finish inspection. Walk the floor, checking for movement, squeaks, uneven boards, and gaps around edges. Correct defects before fitting the final floor covering, and ensure ventilation paths remain clear.
If you’ve added floor reinforcement, verify that it doesn’t obstruct services or compromise the building’s moisture management.
Fit skirting and thresholds carefully, allowing for the floor’s movement where needed. Use compatible materials and finishes suited to the property’s age. Remove debris, protect the completed surface, and arrange any required final inspection before returning the room to service.
Conclusion
When you replace floors and joists in a period property, don’t treat the work as a simple swap. Find the cause of damage, select compatible materials, and brace the structure before removing anything. Fit each joist securely, preserve sound floorboards, and maintain ventilation and service access. Check the finished work against building regulations and engineering requirements. Think of the process as sending a telegram to the future: careful choices now protect your home’s character and stability for years.