
 MartinShields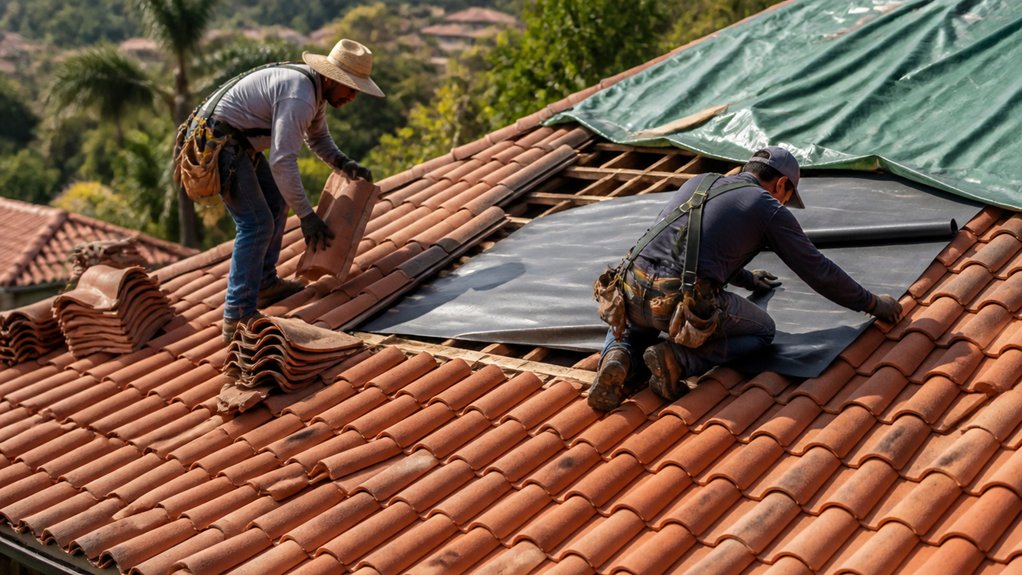
Replacing a tile roof without weakening its weather protection starts before you remove a single tile. You’ll need to assess the roof deck, plan for safe tile removal, and identify where underlayment and flashing must protect vulnerable areas. Each step affects how well the finished roof sheds water. A careful sequence helps you avoid hidden damage and costly leaks—but the most important checks begin with the roof’s existing condition.
Key Takeaways
- Inspect the attic, decking, and roof history first; address widespread damage or recurring leaks before replacing tiles.
- Remove old tiles in small sections from the ridge downward, protecting the deck and keeping debris controlled.
- Install continuous underlayment from the eaves upward, overlapping and fastening it according to manufacturer instructions.
- Fit flashing carefully at valleys, chimneys, walls, skylights, and vents to direct water onto the tiles.
- Lay tiles with consistent spacing, headlap, and approved fasteners, then inspect seams, flashing, drainage, and ventilation.
Assess Damage and Plan Your Tile Roof Replacement
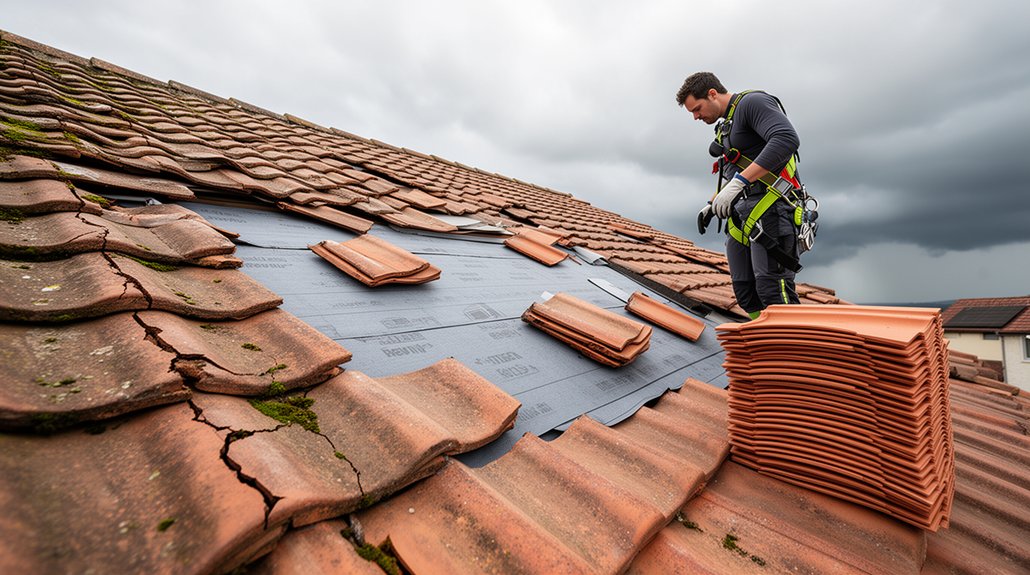
Before replacing a tile roof, determine whether the damage is limited to a few tiles or points to a larger problem. A thorough Roof inspection can reveal cracked or slipped tiles, deteriorated flashing, leaks, and signs of deck damage.
Check the attic for stains or damp insulation, and review the roof’s age and repair history. If you find widespread damage or recurring leaks, ask a qualified roofer to assess the structure and estimate the full scope of work.
Then plan your budget, schedule, and required permits before choosing replacement products. Material selection should account for your roof’s slope, local climate, load capacity, and existing underlayment.
Match tile profiles and fastening requirements to the roof system, and confirm that replacement tiles meet local codes. Document findings and decisions so you can coordinate the project clearly.
Remove Old Tiles Without Damaging the Roof Deck
Start at the ridge and remove tiles in small, controlled sections, working downward so loose pieces don’t slide across the roof. Use a flat bar to lift each tile gently, releasing clips or fasteners without levering against the deck. Stack reusable tiles securely on a stable surface; place broken pieces directly into a sturdy container for safe tile disposal. Don’t toss debris down the roof or let it pile up underfoot.
During roof removal, watch for exposed nails, cracked battens, and soft or discolored decking. Pull fasteners straight out with a nail puller, taking care not to gouge the wood. Keep your weight on supported areas, and use roof jacks or planks where needed to spread pressure.
Clear dust and fragments as you go so you can spot deck damage and avoid punctures before the next phase.
Install Underlayment and Flashing to Prevent Leaks
With the deck cleared and repaired, install the underlayment from the eaves upward, overlapping each course according to the manufacturer’s instructions so water sheds over the layer below. Fasten it with approved caps or staples, keeping edges flat and sealing laps where specified.
At valleys, use the required membrane width and maintain continuous coverage. Fit metal flashing at chimneys, skylights, walls, and roof penetrations; tuck step flashing beneath the underlayment where details require it, and secure counterflashing against the surface above.
Follow each component’s installation instructions, and don’t rely on sealant alone to stop leaks. Check that flashing directs water toward the eaves without gaps or reverse laps.
Before covering the assembly, inspect every seam and penetration. Protect roof insulation from moisture, and plan gutter maintenance to keep drainage clear.
Lay New Tile Roof Tiles for Proper Drainage
Once the underlayment and flashing pass inspection, lay tiles from the eaves upward, following the roof’s layout and the tile manufacturer’s spacing and fastening instructions. Keep each course straight, with consistent headlap and side gaps, so water sheds over the tiles below rather than entering joints. Check alignment often with a chalk line; small shifts can compound across the roof.
Match tile profiles to the existing battens, and use approved clips or nails without overtightening, which can crack tiles. Account for the roof slope when selecting fastening methods and confirming the specified overlap; steeper pitches may need additional restraint.
Blend replacement pieces by checking tile color in natural light, since batches can vary. Cut tiles cleanly around roof edges, and remove debris that could obstruct drainage before finishing each section.
Inspect Valleys, Flashing, and Ventilation
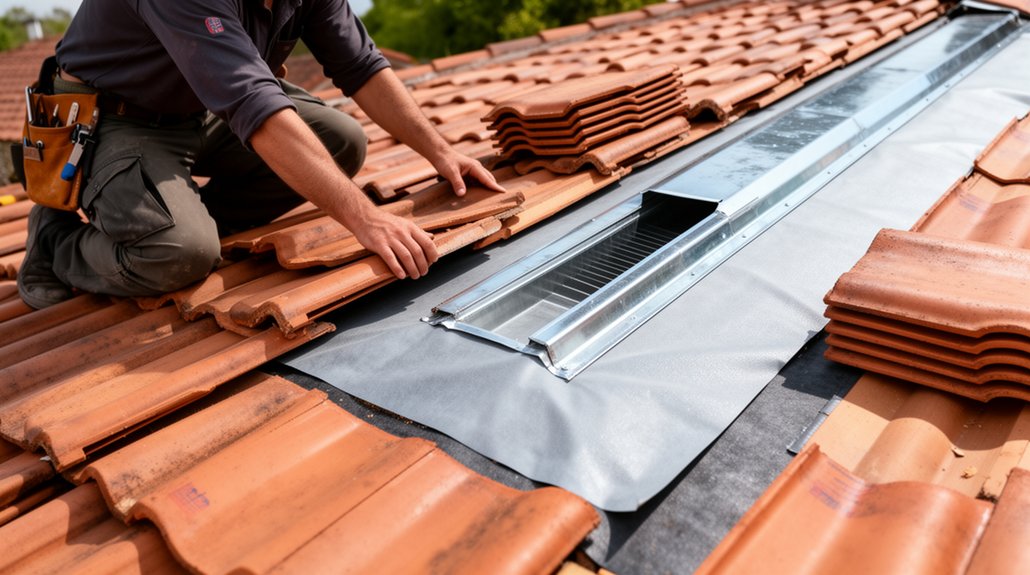
Inspect valleys and flashing before calling the roof complete, since small gaps can let wind-driven rain reach the underlayment.
During your roof valley inspection, confirm that each valley has continuous, correctly overlapped metal or membrane and that tiles stop at the specified clearance.
Remove debris, then check for exposed fasteners, lifted edges, and punctures.
Examine flashing around chimneys, walls, skylights, and vents; secure each piece and seal joints with compatible materials, not improvised caulk.
Verify that flashing directs water onto the tiles below.
Finish with a ventilation system check. Clear intake and exhaust openings, confirm balanced airflow, and ensure insulation hasn’t blocked soffit vents.
Check that ridge vents remain unobstructed and properly integrated with the tile course.
Correct defects now, before weather exposes weak points.
Record repairs and retest drainage with controlled water.
Conclusion
Protect your home by planning carefully, removing tiles gently, and inspecting the roof deck before covering it. Install underlayment and flashing with precise overlaps, then lay each tile securely to guide water toward the eaves. Check valleys, penetrations, and ventilation before calling the job complete. If you spot hidden damage or aren’t confident working safely, bring in a qualified roofer. Careful preparation, sound installation, and thorough inspection help preserve weather protection and extend your new tile roof’s service life for years.