
 MartinShields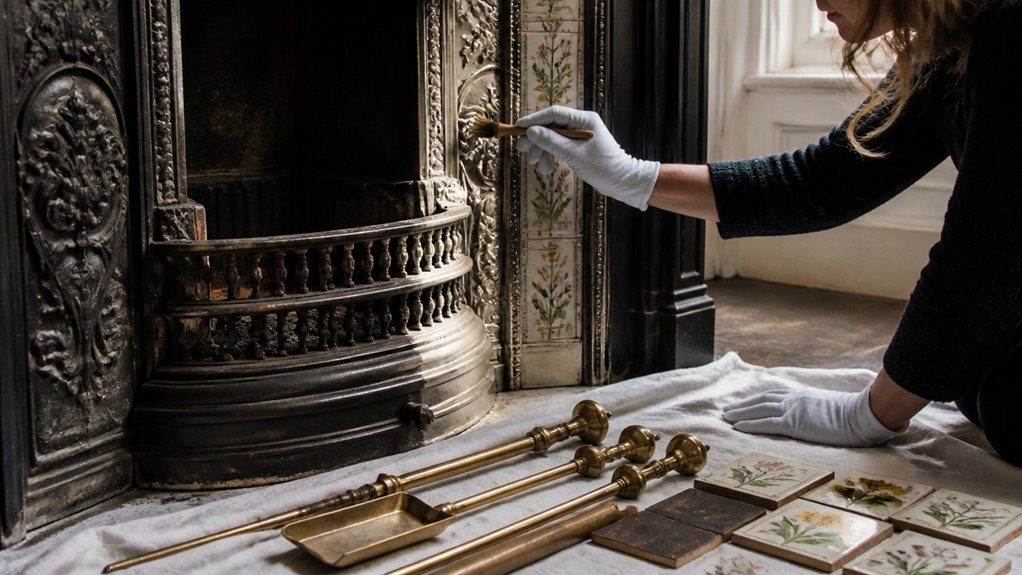
A Victorian fireplace can look sound while hiding cracked flues, loose masonry, or lead-based paint. Before you clean or repair anything, check for hazards and document the fireplace’s condition so you don’t damage original features or create a safety risk. Then work from inspection to careful cleaning, period-appropriate repairs, and final testing. One overlooked detail can affect both the fireplace’s historic character and its safe operation.
Key Takeaways
- Inspect the fireplace, hearth, and chimney for damage, damp, loose masonry, and safety hazards before starting work.
- Protect original tiles, cast iron, stone, and timber; document features and consult specialists before removing or replacing them.
- Clean soot gently with a soft brush, HEPA vacuum, and material-appropriate products, testing cleaners in an inconspicuous area.
- Repair damaged components with compatible, period-appropriate materials and finishes, addressing moisture or heat damage.
- Have a qualified chimney professional inspect and test the fireplace before use, then schedule regular maintenance and cleaning.
Check Victorian Fireplace Safety First
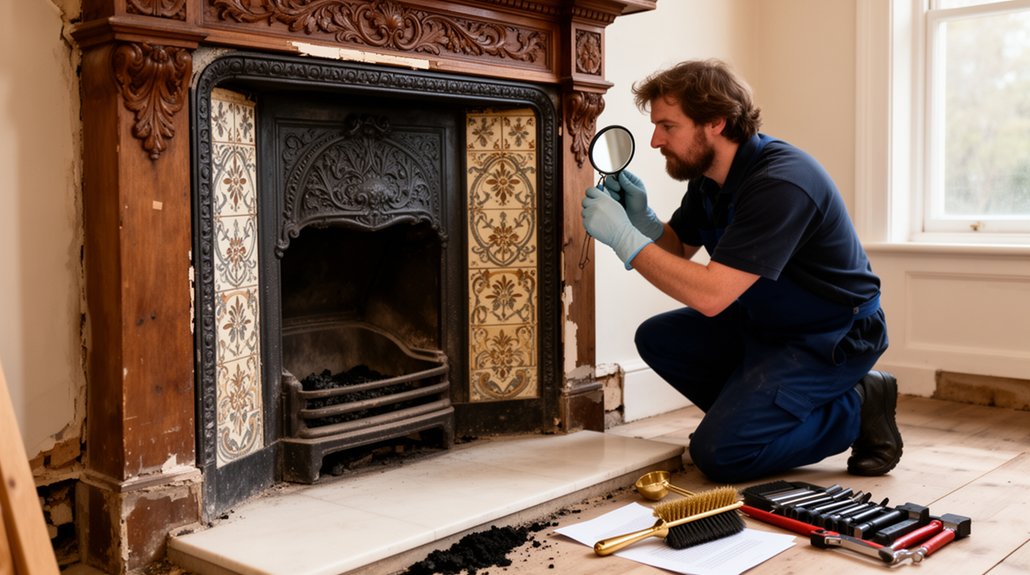
Before restoring a Victorian fireplace, confirm it’s safe to work on. Victorian fireplace safety starts with controlling hazards before you handle tools or materials. Don’t light a fire, remove components, or disturb soot until you know the flue and hearth pose no immediate risk.
If you smell gas, suspect asbestos, or notice smoke entering the room, stop and contact the appropriate qualified professional.
Keep children and pets away from the work area, and wear suitable gloves, eye protection, and a dust mask when dealing with debris. Protect nearby furnishings from soot, and ventilate the room without creating drafts that spread dust.
If the fireplace has been unused for years, arrange a professional chimney sweep before any future use. A clear, serviceable flue supports chimney fire prevention and helps you plan restoration responsibly.
Don’t resume work until hazards are addressed.
Inspect the Fireplace and Surround
Once hazards are addressed, inspect the fireplace and surround without removing any components. Use a torch and take clear photographs from several angles, including close-ups of joints, fittings and visible damage.
Check the firebox, hearth and chimney opening for cracks, loose masonry, damp patches, soot staining or signs of previous repairs. Look for movement, gaps and unevenness around the mantel and note whether the surround sits securely against the wall.
Identify the surround materials, such as marble, cast iron, tile, timber or stone, since each shows wear differently. Examine ornamental details for chips, missing pieces, corrosion or layers of paint that obscure their shape.
Record your observations and measurements, and mark areas that need specialist assessment. Don’t probe fragile surfaces or disturb suspected hazardous materials; document them for a qualified professional.
Protect Original Features and Choose Materials
Protect sound original fabric wherever possible, since Victorian tiles, cast-iron inserts, marble and timber can be difficult to match. Record each feature before work begins, and label any pieces you remove so you can return them to their original positions.
Don’t discard damaged elements until a specialist has assessed whether repair is possible. A conservator or experienced fireplace restorer can help you distinguish age-related wear from structural damage and preserve original craftsmanship without compromising safety.
When replacement proves necessary, choose authentic materials that suit the fireplace’s period, colour and finish. Match tile dimensions, glaze and pattern; select compatible stone or timber; and use appropriate metal finishes.
Avoid modern substitutes that imitate historic surfaces but age differently. Check that new components fit the existing opening and meet current safety requirements.
Keep invoices and product details, so future repairs can follow the same specifications.
Clean Soot and Grime From the Fireplace
Soot can stain historic finishes permanently, so identify the fireplace’s materials before you clean them. Check whether surfaces are glazed, painted, or unfinished, and test each cleaner in a hidden spot. Photograph details first, and protect nearby floors and furnishings with drop cloths.
Begin soot removal with a soft brush and a HEPA-filtered vacuum, working from the top down. Don’t scrub dry soot; pressure can drive it deeper into porous surfaces. For stubborn deposits, use a dry-cleaning soot sponge with light, straight strokes, turning it often. Avoid water until loose soot is gone.
For grime cleaning, use a barely damp cloth and a mild, material-appropriate cleaner. Don’t soak joints or apply acidic, abrasive, or household products without confirming compatibility. Rinse only when the finish allows, then dry promptly with a clean cloth.
If deposits persist, consult a conservator before proceeding.
Repair Victorian Fireplace Brick, Tile, and Iron

Inspect the brick for loose mortar and cracks, then use a compatible repair mix to stabilize damaged areas.
Clean and reset decorative tiles carefully to preserve their original pattern and finish.
Treat cast iron with a suitable rust remover and protective coating, but don’t paint over sound historic surfaces.
Repairing Damaged Brick
Damaged brick, tile, and iron can compromise both the safety and character of a Victorian fireplace, so identify the cause before making repairs. Check for moisture, heat damage, soot buildup, and movement.
Brick discoloration may signal a deeper problem, while mortar deterioration can leave bricks unstable. If you find active leaks or structural movement, address those issues before patching.
Remove loose mortar carefully with a hand tool, avoiding damage to brick edges. Repoint joints with a compatible lime-based mortar, matching the original’s strength and appearance. Hard cement can trap moisture and harm historic brick.
Replace a cracked or spalled brick only when repair won’t restore its stability. Use a matching reclaimed brick where possible, and let repairs cure as directed.
If damage is extensive, consult a masonry specialist experienced with historic fireplaces.
Restoring Decorative Tile
Once the brickwork is stable, assess the decorative tiles for loose edges, cracks, and missing pieces. Photograph the surround before you remove anything, and label each tile to preserve its position and pattern.
Lift loose pieces carefully with a thin blade; avoid levering against sound tiles. Scrape away failed adhesive and dust, then use a compatible conservation-grade adhesive to reset each piece.
For cracked tiles, consult a specialist before attempting repairs, especially if ornamental glazing has chipped or crazed. Match replacements by size, color, finish, and period detail; salvaged tiles often blend better than modern copies.
Rebuild decorative mosaics from the original layout, using archival photographs when needed. Let adhesive cure fully, then clean with a soft cloth and a mild, pH-neutral solution.
Don’t use abrasive pads or harsh chemicals.
Treating Cast Iron
After the tiles are secure, assess the cast-iron insert for rust, cracks, loose joints, and failed paint. Wear gloves and eye protection, then remove loose rust and flaking paint with a hand wire brush; avoid power tools that can erase decorative detailing.
Vacuum dust, and wipe the surface with a suitable solvent, following its safety instructions. Don’t paint over active rust or conceal structural damage.
Have a specialist assess cracks, distorted sections, or loose joints before you proceed.
For sound iron, apply a thin coat of high-temperature stove polish or paint rated for fireplace use, keeping it off adjacent tile and brick. Follow the product’s curing directions, ventilate the room, and heat the insert gradually.
This careful cast iron preservation protects the original finish while keeping the iron safe and presentable.
Restore the Mantel and Decorative Details

Begin by inspecting the mantel and its decorative details for loose joints, cracks, missing pieces, and old repairs. Check the shelf, supports, ornamental carvings, and decorative moldings closely, using a flashlight to reveal damage in shadowed areas. Photograph each feature before you work so you can track its position and preserve original details.
Secure loose joints with suitable adhesive and clamps, protecting the surface with soft padding. Remove failed repairs carefully; don’t pry against fragile wood or plaster. Fill small cracks with a compatible repair material, then shape it to match the surrounding profile.
For missing details, make a mold from a sound counterpart or consult a skilled restorer when the pattern is complex. Let repairs cure fully, and sand only where necessary, using fine abrasive and a light touch to avoid erasing crisp edges.
Choose a Period-Appropriate Fireplace Finish
Choose a finish that suits the fireplace’s materials, age, and original appearance. Examine surviving paint, metalwork, tile, and stone for clues before selecting products.
Victorian fireplace finishes varied by material and period, so don’t assume every surface was painted or polished alike.
For cast iron, use a finish designed for iron, such as a suitable stove polish, and apply it sparingly.
If you’re repainting a timber mantel, choose a historically plausible color and a coating compatible with the existing surface.
Preserve ceramic tiles and natural stone rather than covering their character with modern paint.
Select period appropriate materials and finishes that complement the restored decorative details.
Test your chosen product on a discreet area first, then follow its application instructions to achieve an even, restrained result without obscuring original features.
Test Safe Operation and Maintain Your Fireplace
Before lighting your restored fireplace, have a qualified professional inspect it for safety. Check that smoke drafts properly up the chimney and that the room has adequate ventilation.
You’ll keep it operating safely with regular cleaning and maintenance.
Arrange a Safety Inspection
Once the restoration is complete, arrange an inspection with a qualified fireplace professional before lighting a fire. Ask the inspector to assess the firebox, hearth, surround, and chimney components for cracks, loose masonry, corrosion, or other defects.
Confirm that the fireplace suits its intended fuel and that any repairs meet local safety requirements. Share details of the restoration, including materials and changes, so the professional can judge both safe operation and historical accuracy.
A Victorian fireplace is fireplace art, but its appearance must never outweigh sound construction. Request a written report listing findings, required repairs, and recommendations.
Don’t use the fireplace until you’ve addressed any hazards and received clearance. Keep the report with your restoration records, and schedule future inspections at the interval your professional recommends to protect your home and investment.
Check Draft and Ventilation
Check the draft only after a qualified professional has cleared the fireplace for use. Open the damper fully, then light a small piece of paper or a smoke pellet near the firebox opening. Watch whether smoke rises steadily into the flue.
If it spills into the room, goes sluggishly, or reverses direction, stop the test and contact a chimney professional. Don’t burn fuel until the cause is resolved.
A proper draft check should also include a ventilation assessment. Make sure the room has an adequate air supply and that extractor fans or other appliances aren’t drawing smoke back indoors.
Keep doors and windows in their usual positions during testing, since changing airflow can affect results.
Ask your professional to confirm that the damper, flue, and air pathways work together safely before you use the restored fireplace.
Maintain Regularly
After a qualified professional approves the fireplace, test it with a small fire and watch for smoke spillage, unusual odors, or poor draft. If you notice any warning signs, extinguish the fire, ventilate the room, and call a qualified specialist before using the fireplace again.
Once operation appears safe, establish a regular maintenance routine. Remove ash only when it’s cool, and keep the firebox clear of debris. Arrange annual chimney inspections and cleaning to prevent creosote buildup, blockages, and damage.
Check the damper, mortar, and visible metalwork periodically; address cracks or corrosion promptly.
Use suitable fuel and avoid overloading the firebox. Preserve original materials where possible, balancing Historical accuracy with aesthetic enhancement.
Keep records of inspections and repairs so you can track changes and protect your restored fireplace’s safety, function, and historic character.
Conclusion
Restoring your Victorian fireplace takes patience, but careful inspection, gentle cleaning, and period-appropriate repairs can preserve its character for years. Before lighting a fire, have a qualified professional check the chimney, flue, and ventilation; appearance alone can’t confirm safety. One useful measure of the home’s age: the Victorian era spanned 64 years, from 1837 to 1901, leaving fireplaces with varied designs and materials. Document your work, follow maintenance advice, and you’ll protect both your fireplace’s historic details and your household.