 MartinShields
A workshop conversion can resemble rewiring an old machine: the shell may look sound, but hidden faults can stop the whole project. Before you plan finishes or hire contractors, check whether local zoning allows a home there and whether the structure can meet residential safety codes. Then inspect the building, estimate repairs, and map out utilities, permits, and construction. One early finding can change your budget, schedule, or plans entirely.
Key Takeaways
- Confirm zoning, occupancy limits, and change-of-use requirements with local authorities before planning the conversion.
- Inspect the foundation, framing, roof, and utilities; hire qualified professionals to assess structural or system issues.
- Design sleeping, cooking, bathing, and living areas, checking clearances, ventilation, utility capacity, and code requirements.
- Set a realistic budget, hire licensed and insured contractors, and obtain required permits before construction begins.
- Complete repairs, pass required inspections, close permits, and test safety systems before moving in.
Check Whether Your Workshop Can Become a Home
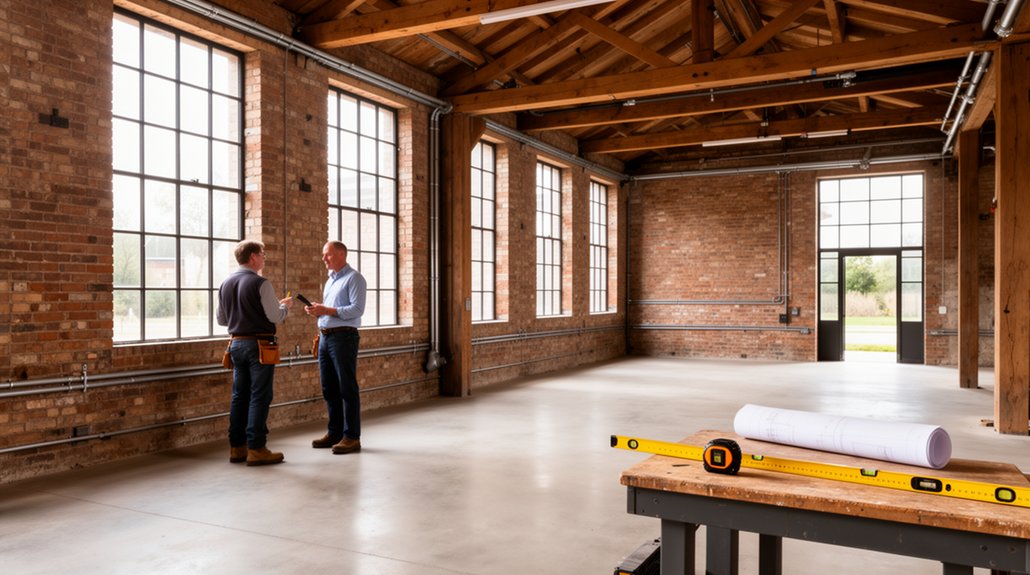
Before planning the conversion, confirm that local rules allow your workshop to become a dwelling. Contact your planning department to check zoning, permitted use, occupancy limits, and any restrictions on accessory buildings. Ask whether you’ll need a change-of-use approval, building permit, or historic-district review. Don’t assume an existing structure qualifies as a legal residence.
Next, verify that the site can support residential services. Confirm that local requirements allow safe access to water, sewer or an approved septic system, electricity, and emergency exits. Ask officials which codes apply to bedrooms, ceiling heights, ventilation, and fire separation from nearby buildings. Requirements vary by location, so get written guidance before committing to a design.
These rules can shape your Design aesthetics and storage solutions. If approval isn’t available, explore permitted alternatives before developing detailed plans.
Inspect the Workshop and Set Your Budget
Inspect the foundation, framing, roof, and signs of water damage before planning the conversion.
Check existing utilities and confirm local permit requirements with your building department.
Then set a realistic budget that includes repairs, upgrades, permits, and a contingency for unexpected costs.
Assess Structural Condition
Start with a thorough inspection: check the foundation, framing, roof, walls, and floor for cracks, rot, water damage, and signs of movement. Look for sagging rooflines, bowed walls, uneven floors, loose connections, and gaps around doors or windows. These clues can reveal shifting or weakened supports that threaten structural integrity. Don’t cover damage with finishes before you understand its cause.
Check foundation stability by examining visible footings and slabs for settlement, widening cracks, or water intrusion. Note each concern with photos and measurements, then compare changes over time if you can. Have a qualified structural engineer assess serious cracking, significant deflection, or uncertain load-bearing elements. Ask for a written report that identifies repairs and their urgency.
Use the findings to set a realistic budget. Include inspection fees, repair costs, a contingency for hidden damage, and updated estimates before work begins.
Check Utilities And Permits
Once structural concerns are documented, check whether the workshop’s utilities can support a home and what permits the conversion requires. Have a licensed electrician inspect the service panel, wiring, outlets, and grounding; confirm capacity for household appliances, heating, and lighting.
Ask a plumber to assess water supply, drainage, and sewer or septic connections. Check whether the building has suitable heating, ventilation, and cooling, and identify needed utility upgrades before planning the layout.
Next, contact your local building department to confirm permit requirements for changing the workshop’s use. Ask which building, electrical, plumbing, mechanical, and energy-code permits apply, and whether zoning approval or inspections are required.
Provide existing plans or measurements if requested. Don’t begin demolition or installation until officials clarify the approval process. Keep written guidance and inspection records with your project documents.
Set A Realistic Budget
Before setting a budget, inspect the workshop closely and document what the conversion will require. Check the roof, foundation, framing, insulation, windows, and existing utilities. Note damage, moisture, pests, and any structural work that needs a professional assessment. These findings will make your cost estimation more accurate and help prevent expensive surprises.
List each project item, including permits, design fees, labor, materials, utility upgrades, finishes, and furnishings. Get written quotes for major work, then compare them against local rates. Separate essentials from optional improvements so you can adjust plans without compromising safety or code compliance.
Set your budget allocation by assigning realistic amounts to each category, then reserve at least 10 to 20 percent for unexpected repairs. If costs exceed your limit, phase nonessential upgrades rather than relying on optimistic estimates or cutting critical work.
Plan the Workshop Conversion and Utilities
Before work begins, map out the workshop’s new layout and utility needs. Mark sleeping, cooking, bathing, and living areas, then measure clearances for doors, furniture, and accessible routes.
Locate windows and plan daylight, privacy, and ventilation. Check the existing electrical panel, plumbing, drainage, and heating capacity; note where each system must reach and whether upgrades may be needed.
Choose fixtures and appliances early so you can estimate loads and reserve space for connections. Assess the roof, walls, floor, and foundation for moisture, drafts, and temperature control.
Specify Interior insulation that suits the structure and climate, while protecting ventilation and managing condensation. Include Exterior landscaping in your plan: grading and drainage should direct water away from the building.
Record dimensions, utility routes, and priorities in one working plan to guide decisions and spending.
Secure Permits and Hire Conversion Contractors
With your layout and utility plan in hand, check local zoning and building rules before starting work. Confirm that residential use is allowed and ask your building department which permits, inspections, and drawings you’ll need.
The Permitting process may involve zoning approval, building permits, and separate electrical or plumbing applications. Submit complete plans, pay required fees, and wait for written approval before construction begins. Keep approved documents available on-site.
For Contractor selection, seek licensed, insured professionals with experience converting workshops into legal living spaces. Request references, verify credentials, and compare itemized bids that specify labor, materials, schedule, payment milestones, and permit responsibilities.
Ask who’ll coordinate inspections and handle revisions if officials request changes. Check the contract for warranties, change-order terms, and cleanup duties. Don’t choose solely by price; confirm the contractor understands local code and can document compliance.
Install Utilities and Finish the Living Space
Once permits are approved and contractors are scheduled, install the utilities according to the approved plans and local code. Coordinate your electrician, plumber, and HVAC contractor so wiring, water lines, drainage, heating, and ventilation fit the space without conflicts. Plan outlet locations, lighting controls, plumbing fixtures, and equipment access before walls close.
Complete required utility upgrades, such as a larger electrical panel or new service connections, through licensed professionals. Test systems and address leaks, airflow problems, or circuit issues before covering pipes and wiring.
Next, insulate walls and ceilings, install approved drywall, and seal gaps around windows and doors. Choose durable flooring, moisture-resistant finishes where needed, and paint suited to the room’s use.
Add trim, cabinets, hardware, and other finishing touches. Keep access panels clear and maintain required ventilation clearances. At this stage, focus on workmanship and comfort, not move-in preparations.
Pass Final Inspections and Get Ready to Move In
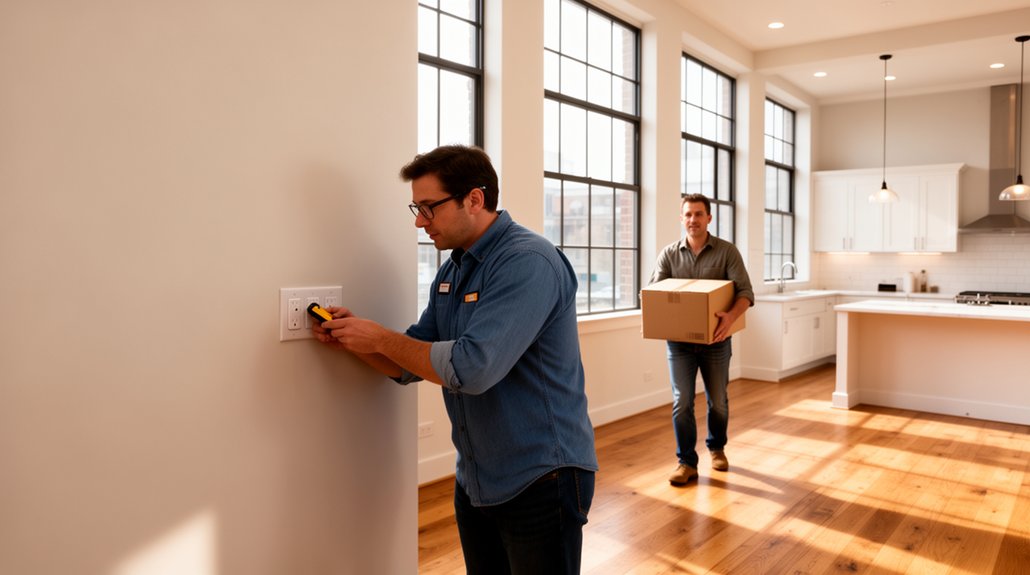
Schedule final inspections with the required local departments, and confirm that each utility and system is ready for review.
If an inspector flags a problem, complete the required repairs and arrange a reinspection before occupying the space.
Once you’ve received approval, clean the living area, test essential systems, and prepare for move-in.
Schedule Final Inspections
Before moving in, schedule final inspections with your local building department and any required trade inspectors. Confirm which approvals your conversion requires, such as building, electrical, plumbing, mechanical, or fire-safety inspections. Check your permit records and ask the department about fees, lead times, and required documents.
Prepare an inspection checklist based on approved plans and permit conditions. Verify that each system is complete, accessible, and ready for testing; keep permits, product specifications, and contractor records on site.
If your project involves separate trades, coordinate their visits so inspectors can review related work efficiently.
Call or use the department’s online portal to schedule appointment times, and request confirmation in writing. Make sure you or your contractor can provide access to every room, utility, and equipment area.
Record each inspector’s name, visit date, and required sign-off for your project file.
Resolve Inspection Issues
After the final inspections, address every correction notice before moving in. Read each item carefully, confirm which trade or permit it involves, and ask the inspector to clarify any unclear requirement.
Prioritize safety-related inspection challenges, such as exposed wiring, missing guards, inadequate ventilation, or faulty smoke alarms.
Hire qualified contractors for repairs that require licensed work; don’t conceal defects or make unapproved changes.
Keep receipts, product specifications, permits, and dated photos as evidence of completed corrections.
Once repairs are finished, request the required reinspection and make sure the affected areas remain accessible.
If the inspector identifies another issue, document it and agree on the next steps.
Obtain written approval and close out every permit.
Verify that the final sign-off confirms code compliance for the converted workshop before you proceed with occupancy.
Prepare for Move-In
Once the inspector has approved the conversion and all permits are closed, prepare the space for occupancy. Keep copies of inspection sign-offs, warranties, appliance manuals, and utility information in one accessible folder. Test smoke and carbon monoxide alarms, confirm that locks work, and locate shutoff valves and the electrical panel.
Clean construction dust from vents, cabinets, and surfaces before bringing in belongings. Check that heating, cooling, plumbing, lighting, and internet operate as expected.
Plan furniture arrangement around clear paths, window access, outlets, and required exits. Secure heavy pieces, and avoid blocking vents or electrical panels.
Then add decor personalization with rugs, curtains, lighting, and storage that suit the room’s function. Unpack essentials first, inspect finishes after moving items, and address any damage promptly. You’re ready to move in.
Conclusion
Converting a workshop into a home takes more than fresh paint: you’ll need a safe structure, reliable utilities, approved plans, and permits. Follow each step, from inspection and budgeting to contractor selection, installation, and final sign-off. Keep records, schedule required inspections, and resolve problems before moving in. Remember, “measure twice, cut once”—careful planning now can prevent costly delays later. Once officials approve occupancy and every system works, you can settle into a comfortable, compliant living space.