 MartinShields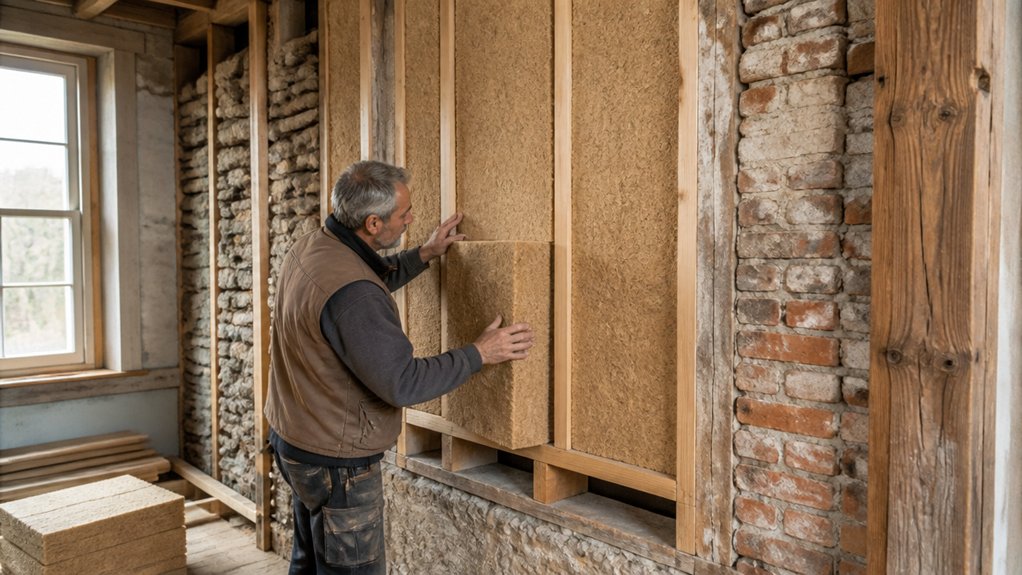
Studies suggest older buildings can lose a significant share of their heat through roofs and walls, but sealing them without a moisture plan can create costly problems. Before you add insulation, you need to understand how your building sheds water and dries out. The right materials and careful repairs can improve comfort without trapping dampness—but one common upgrade can quietly undermine that balance.
Key Takeaways
- Assess the wall assembly—masonry, framing, sheathing, and finishes—before choosing insulation.
- Fix leaks, dampness, and drainage problems, then let materials dry fully before insulating.
- Choose compatible, vapor-permeable insulation that allows the assembly to dry; avoid compressing it or blocking ventilation.
- Manage indoor humidity with exhaust fans, steady heat, and clear ventilation; monitor humidity with a hygrometer.
- Inspect roofs, vents, and insulated areas regularly for condensation, musty odors, stains, or softened timber.
Check How Your Older Building Handles Moisture
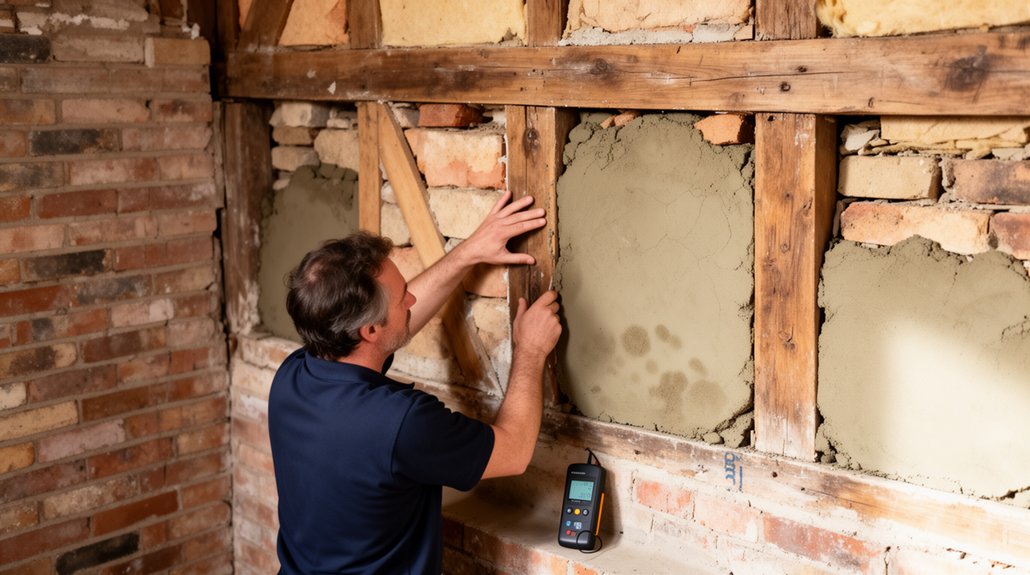
Before you add insulation, find out how the building manages moisture. Older walls often rely on vapor-permeable materials and gradual drying, not modern barriers. Check the wall assembly, including siding, sheathing, framing, plaster, and any existing insulation.
Note whether materials allow moisture to move inward or outward, and how seasonal changes affect that movement. You’ll make better choices when you understand the whole assembly rather than treating one layer in isolation.
Look for original construction details, such as solid masonry, lime mortar, or wood lath and plaster. These clues can guide insulation choices that support Historical preservation while respecting aesthetic considerations.
If you’re unsure what’s behind a finish, consult a preservation-minded building professional before altering it. Keep your approach compatible with the building’s materials and drying paths, so added insulation doesn’t disrupt how the structure has worked for generations.
Find Leaks and Fix Damp Problems First
Even a well-chosen insulation system can cause trouble if water is already getting in. Before you make changes, trace damp patches to their source. Check roof coverings, flashing, gutters, downspouts, exterior joints, and plumbing for leaks.
Look for musty smells, peeling paint, salt deposits, or soft timber; these clues often reveal hidden moisture.
Fix the cause, not just the stain. Clear blocked gutters, repair failed flashing, renew cracked pointing where appropriate, and have persistent plumbing leaks repaired.
Make sure rainwater drains away from the building, and let wet materials dry fully before closing up cavities.
If you can’t identify the source, consult a building professional who understands Historic preservation and older construction.
Dry, sound fabric protects the building and supports Energy efficiency.
Keep monitoring suspect areas after repairs, especially following heavy rain.
Choose Insulation for Older Buildings
Before choosing insulation, identify how your walls are built, including their layers and condition.
Match the insulation to the existing materials so you don’t create a moisture trap.
Choose an approach that lets the walls dry safely.
Assess Existing Wall Construction
Start by identifying how the wall is built: solid masonry, wood framing, or a cavity wall. Check exposed edges at windows, doors, and service openings; don’t assume every wall in an older building shares the same construction. Look for clues such as brick bonds, timber studs, air bricks, and changes in thickness.
Next, inspect both sides where possible. Note damp patches, salt deposits, peeling finishes, musty smells, and previous repairs. These signs can point to water entry or limited drying, so investigate before covering the wall.
A small inspection opening may reveal hidden layers, but take care around wiring and historic finishes.
Record what you find, including wall depth and alterations. Consider the building’s Historical significance and aesthetic considerations before disturbing original fabric.
If evidence remains unclear, ask a conservation-minded building professional to assess it before you plan the work.
Match Insulation to Materials
Once you’ve identified the wall construction and checked for moisture problems, choose insulation that suits both the materials and how the wall dries. For solid brick or stone, consider vapor-open options such as mineral wool or wood fiber, and confirm that the product fits the assembly. These materials can support moisture management, but they won’t correct leaks or damp masonry.
In timber-framed walls, select insulation that fits the cavities without compressing or leaving gaps; cellulose, mineral wool, or wood fiber may work, depending on the details. Check product specifications and consult a building professional when the wall includes unusual finishes or past repairs.
For historic preservation, weigh material compatibility alongside performance: the right choice should respect existing plaster, framing, and masonry rather than forcing a modern system into an older structure.
Preserve Drying Potential
Choose insulation that lets the wall dry toward at least one side, rather than trapping moisture between low-permeability layers. Before you add insulation, identify existing paint, membranes, and exterior finishes that may already slow drying.
Then consider how rain, indoor humidity, and seasonal temperature shifts affect your wall assembly.
In many older buildings, vapor-open materials help masonry and wood release incidental moisture. You might use vapor-permeable insulation, but don’t assume one product suits every wall.
Check the full assembly, including sheathing and cladding, and consult a building professional when conditions are uncertain.
For Historic preservation, retain sound original materials whenever practical. Pair careful detailing with Moisture mitigation: repair leaks, control indoor humidity, and keep bulk water out.
After installation, watch for dampness, peeling paint, or musty odors; these signs can reveal that drying has become restricted. Address them promptly.
Control Ventilation and Indoor Humidity
Even well-planned insulation can lead to moisture problems if indoor air stays damp or ventilation is inadequate. You’ll protect older walls by managing moisture sources and providing steady, controlled air exchange.
Use kitchen and bathroom exhaust fans during cooking and bathing, and keep them running briefly afterward. Vent clothes dryers outdoors, and don’t rely on open windows as your only ventilation strategy.
For humidity regulation, use a hygrometer to track indoor levels through changing seasons. Aim for roughly 30 to 50 percent relative humidity, adjusting for your climate and window condensation.
If levels remain high, check for leaks, damp basements, or poorly vented appliances before adding a dehumidifier. Keep supply and return vents clear, and maintain ventilation equipment as recommended.
You’ll reduce condensation risk without stripping the building of needed moisture balance.
Insulate Roofs and Attics Safely
Before adding insulation, check the roof and attic for leaks, damp wood, and blocked ventilation. Repair the roof first, then let wet materials dry; insulation won’t solve water entry and can hide ongoing damage.
Confirm that soffit and ridge vents stay clear, and install baffles where needed to preserve airflow above the insulation. Roof ventilation must work as a system, not just through one open vent.
Choose attic insulation techniques that suit your roof and climate. In an unvented roof, use a carefully designed assembly that controls air and vapor movement; don’t simply fill the cavity.
Seal ceiling gaps around lights, pipes, and hatches before insulating, while keeping required clearances around heat-producing fixtures. Fit insulation evenly without compressing it, and keep it away from damp masonry.
After installation, inspect for condensation, musty odors, or staining, and address problems promptly.
Insulate Walls Without Damaging Historic Materials
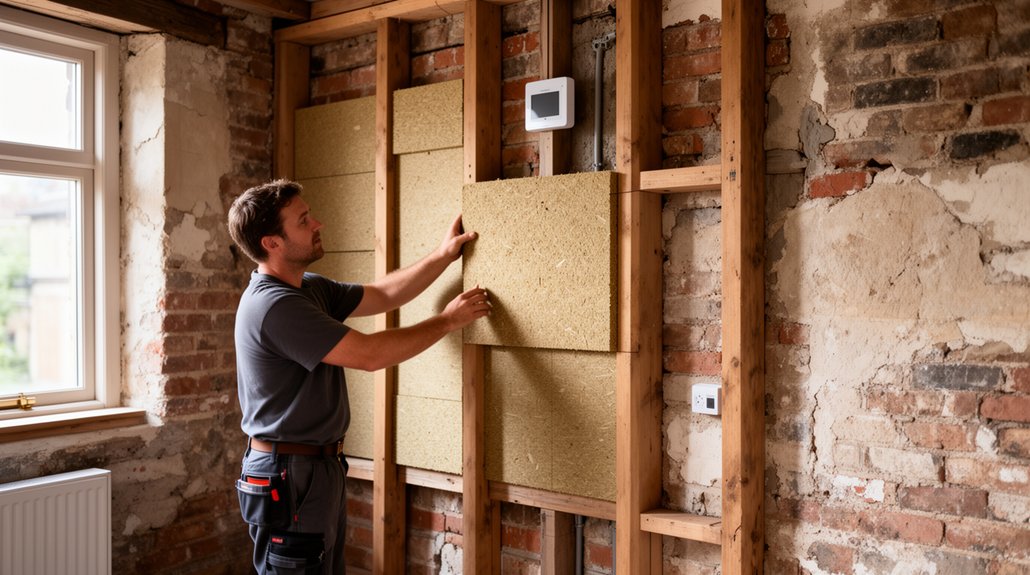
Walls need the same moisture-aware care as roofs, but insulation can also damage historic finishes and construction. Before you choose a wall system, identify how your building handles rain and indoor moisture. Check for leaks, damp masonry, peeling paint, and musty odors; repair water sources first.
If you can, inspect a small area behind trim or through an existing opening rather than removing original plaster or siding. Dense-pack cellulose may suit some framed walls, while interior insulation on solid masonry can leave the wall colder and wetter.
Ask a preservation-minded building professional to assess materials, climate, and drying paths. You’ll protect significant details and improve Energy efficiency without sacrificing Historic preservation.
Where wall cavities remain uncertain, start with reversible measures, such as sealing drafts at windows and doors, before covering historic surfaces.
Avoid Common Insulation Mistakes
To avoid insulation mistakes, don’t cover damp materials, block ventilation paths, or assume more insulation is always better. First, find and fix the source of moisture; insulation won’t solve leaks, rising damp, or poor drainage.
Choose materials that suit your wall’s construction and allow it to dry in the direction the building needs. Don’t pack insulation tightly around wiring, pipes, or irregular framing, where gaps and compression can reduce performance or create hazards.
Keep eaves, vents, and other intended airflow routes clear, and use compatible air and vapor control layers rather than sealing blindly.
Question insulation myths that promise one product or thickness works everywhere. Check Building codes and local requirements before changing fire protection, ventilation, or electrical clearances.
If the assembly is unusual, get advice from a qualified building professional before proceeding.
Monitor for Mold, Condensation, and Rot
After insulating, check the building regularly for signs that moisture is building up. Look behind furniture, inside cupboards, and around window frames, roof edges, and plumbing. Musty smells, dark spots, peeling paint, or swollen wood deserve attention; don’t just cover them with fresh paint or sealant.
In cold weather, inspect windows and exterior walls for persistent condensation. Wipe occasional droplets, but investigate recurring wetness: it may point to poor ventilation, a leak, or a cold surface.
For effective condensation control, use exhaust fans, keep vents clear, and maintain steady heat without blocking airflow.
Check vulnerable timber for softness, discoloration, or crumbling, especially near foundations and roof joints. If you find active leaks or widespread mold, fix the moisture source before repairs.
Careful monitoring supports mold prevention and helps you catch rot early, while repairs remain manageable.
Conclusion
Insulating an older building is a balancing act: keep warmth in while giving moisture a clear path out. Fix leaks, choose breathable materials, preserve ventilation, and make changes you can revisit. Then watch for condensation, musty smells, or damp patches—the building’s early warning signals. If you’re unsure, ask a preservation-minded professional before covering historic materials. Take a careful, measured approach, and you’ll improve comfort without asking your building to hold its breath.