 MartinShields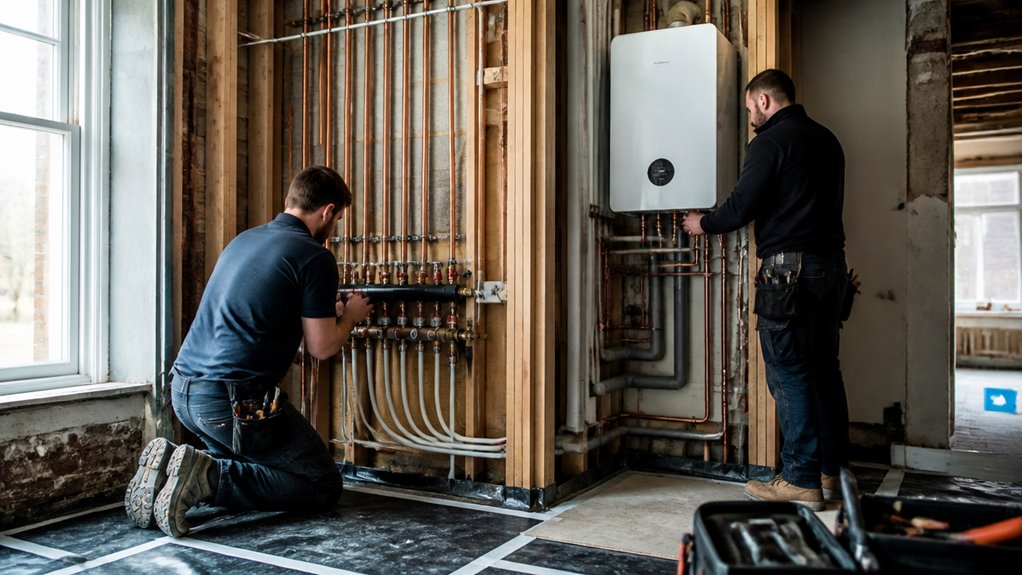
A full renovation gives you rare access to pipes and heating lines that are usually hidden behind finished walls. Before you replace anything, inspect the existing systems, check their capacity, and note signs of leaks, corrosion, or poor performance. Then plan upgrades around the building work, compatible equipment, permits, and a realistic contingency budget. The timing matters: one overlooked connection can force costly rework, so know what to check before the walls close.
Key Takeaways
- Inspect existing pipes, drains, shutoffs, heating equipment, and controls; document leaks, corrosion, capacity issues, and repair history.
- Plan pipe routes, equipment, fixtures, and thermostat locations against current renovation drawings; confirm compatibility with utilities and local conditions.
- Coordinate permits, inspections, trades, and equipment orders; schedule rough-ins after framing and before insulation, drywall, or finished surfaces.
- Budget for permit costs and set aside a 10–20% contingency for concealed damage and unexpected repairs.
- Pressure-test plumbing and run heating systems before closing walls; fix defects, photograph concealed routes, and retain test records.
Inspect Your Existing Plumbing and Heating
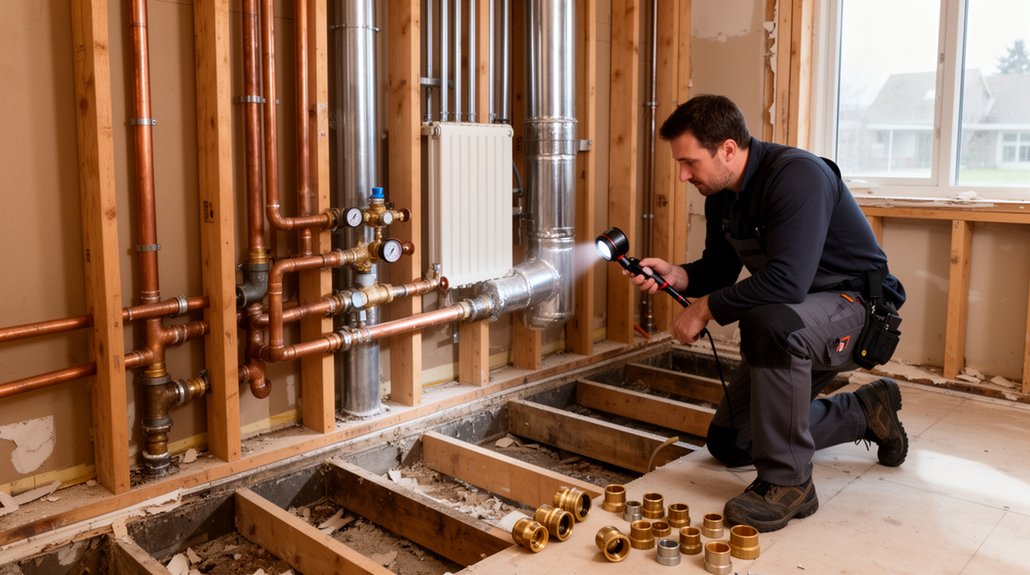
Before upgrading your plumbing and heating, inspect what you already have. Locate shutoff valves, water lines, drains, radiators, boilers, and thermostats. Check visible pipes for corrosion, leaks, mineral buildup, and loose joints. Note water pressure and whether hot water arrives consistently at each fixture.
Examine your heating equipment’s age, service records, fuel type, and operating condition. Look for uneven room temperatures, unusual noises, soot, or frequent cycling. Test faucets, toilets, and drains, and watch for slow flow, odors, or recurring clogs. Drain cleaning may clear buildup, but repeated blockages can signal a damaged or obstructed line.
Check exposed pipe insulation for gaps, moisture, or deterioration, especially in basements and crawl spaces. Photograph problem areas and record equipment labels, pipe materials, and observed symptoms. These details give you a reliable picture of system condition before renovation work begins.
Plan Plumbing and Heating Upgrades
Before choosing upgrades, assess your plumbing and heating systems’ age, condition, capacity, and repair history.
Prioritize issues that affect safety, reliability, or efficiency.
Coordinate the work with renovations, seasonal demand, and contractor availability to limit disruption and avoid repeat labor.
Assess Existing Systems
Assess your existing plumbing and heating systems before choosing upgrades. Trace accessible supply and waste pipes, noting materials, diameters, corrosion, leaks, and signs of past repairs.
Check water pressure and drainage performance at several fixtures; recurring blockages or slow flow may indicate deeper problems.
Inspect the boiler or heat source, radiators, controls, and visible connections for age, damage, unusual noise, or uneven heating.
Ask a qualified professional to test equipment and identify safety concerns, including combustion or electrical faults.
Record findings with photographs and mark concealed routes where plans or surveys reveal them.
Check whether pipe insulation is missing or deteriorated, and note sticking or leaking valves that may need valve replacements.
Compare your observations with maintenance records and manufacturer guidance to distinguish routine wear from system-wide limitations before you select upgrades.
Coordinate Upgrade Timing
Once you’ve identified needed work, coordinate plumbing and heating upgrades around access, season, and household routines. Schedule pipe replacements and heating equipment installation before drywall, flooring, or cabinetry goes in. That sequence gives crews clear access and prevents finished surfaces from being opened later.
Ask your contractor to map each trade’s start date, work area, and dependencies. Confirm when water, heat, or hot water will be unavailable, then arrange temporary options if needed. Strong contractor communication helps you resolve conflicts quickly and keep deliveries aligned with installation dates.
Plan heating work for mild weather when possible, but don’t postpone urgent repairs to suit the calendar. Build buffer days into the schedule for inspections, concealed damage, and equipment lead times. These allowances reduce scheduling delays and help you maintain a realistic renovation timeline.
Choose Compatible Pipes and Heating Equipment
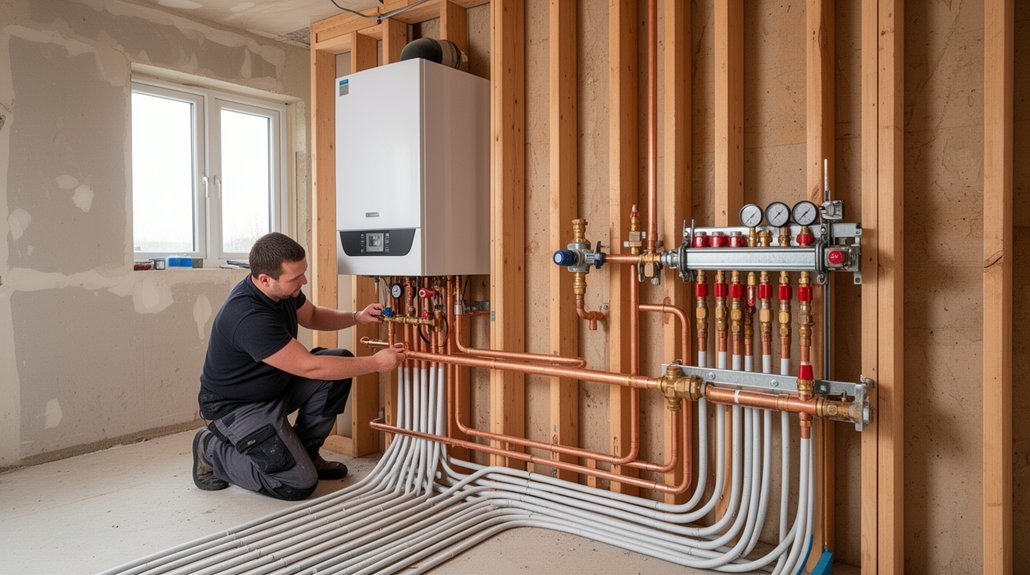
Choose pipes and heating equipment that work together and suit your home’s water quality, pressure, fuel source, and heating demands. Ask your plumber to verify pipe materials against local water conditions and system pressure. Copper, PEX, and multilayer pipe each suit different layouts, temperatures, and connection methods, so don’t mix components without confirming compatibility.
Match your boiler or heat pump to the emitters and controls; check required flow temperatures, capacity, and electrical or gas connections before you buy.
Plan pipe routes around access, structural elements, and future maintenance. Add Pipe insulation to reduce heat loss in unheated spaces and protect vulnerable runs from freezing.
Consider Radiator placement alongside furniture, windows, and room dimensions to support even heat distribution. Confirm that valves, pumps, thermostats, and fittings work with the selected equipment, then document specifications for installation.
Budget for Permits and Hidden Problems
Before work begins, check your local permit fees and required inspections, since rules vary by project and location.
Ask your contractor to include these costs in the estimate.
Set aside a contingency for hidden damage, such as corroded pipes or water-damaged framing, that may surface during demolition.
Permit Costs
Permit costs can add more than a filing fee to a plumbing or heating upgrade: inspections may uncover code violations, unsafe connections, or hidden damage that requires extra work. Check local permit fees before setting your renovation budget; charges vary by project scope, system type, and jurisdiction.
Your contractor or building department can clarify application procedures, required forms, and whether separate permits cover plumbing, heating, gas, or electrical work. Include plan-review charges, permit revisions, and possible reapplication fees in your estimate.
Set aside a contingency for concealed problems, such as corroded pipes, outdated wiring near equipment, or inadequate venting. If work reveals these conditions, repairs may require additional materials, labor, and permit updates.
Confirm who pays each fee and handles paperwork in your contract, and keep receipts and approvals with your project records.
Inspection Requirements
Once work begins, required inspections can affect both your schedule and budget. Ask your building department which stages need approval, such as rough-in plumbing, gas connections, boiler installation, and final testing.
Build inspection fees and possible reinspection charges into your renovation budget, and book visits before covering pipes or closing walls. You’ll need access for inspectors to verify pipe sizing, supports, venting, drainage, and pipe insulation.
They may also check water pressure, test for leaks, and confirm that heating equipment meets local safety and efficiency rules. Keep permits, product specifications, and contractor records on site so you can answer questions quickly.
If an inspection fails, get the correction list in writing, coordinate repairs with your trades, and reschedule promptly. Confirm sign-off before commissioning systems or completing finishes.
Hidden Damage Contingencies
What might your contractor find behind a wall or beneath a floor? Hidden damage may include corroded pipes, leaking joints, water-stained framing, mold, or outdated wiring near heating equipment.
These discoveries can change your scope, schedule, and costs, so build a contingency into your renovation budget before work begins.
Set aside roughly 10–20 percent of the project cost, adjusting for your property’s age and condition.
Ask your contractor to document unexpected damage with dated photos, written estimates, and clear change orders before repairs proceed.
Confirm who’ll obtain permits for revised plumbing or heating work, and include permit fees and inspection costs in your allowance.
Review your homeowners policy and ask your insurer what evidence supports insurance claims.
Don’t assume gradual leaks or maintenance-related damage will be covered.
Keep receipts and records.
Coordinate Installation With Renovation Work
Coordinate plumbing and heating upgrades with the renovation schedule before work begins. Share plans with your general contractor, electrician, and other trades so everyone knows when access, shutdowns, and clear work areas are needed.
Schedule rough-in work after framing but before insulation and drywall; this keeps pipes, ducts, and wiring accessible without damaging finished surfaces.
Confirm fixture locations, equipment dimensions, and utility routes against the latest drawings. If you’re adding Smart thermostats, coordinate their wiring and placement with electrical work and room layouts.
Ask your plumber to account for Water pressure needs when selecting pipe sizes and planning supply routes.
Order long-lead equipment early, and protect installed components from dust, impact, and freezing.
Build time into the schedule for concealed work and any adjustments required as renovation conditions change.
Test Plumbing and Heating Before Finishing
Before insulation and drywall conceal the work, test every plumbing and heating system while connections remain accessible. Pressurize supply lines and inspect each joint, valve, and fixture for leaks. Check water pressure at multiple taps; confirm it stays steady when you run fixtures together. Flush toilets, drain sinks, and verify that traps and waste lines clear without backing up.
Test hot-water delivery at every outlet, and adjust temperature control settings to confirm safe, consistent performance.
Run boilers, furnaces, pumps, and thermostats through complete operating cycles. Bleed radiators or purge air from hydronic loops, then check for even heat, unusual noise, and leaks. Verify controls, shutoffs, and safety devices work as intended.
Record readings, correct defects, and retest repairs before closing walls. Photograph concealed routes and keep test results with your renovation records for future maintenance.
Conclusion
Before closing the walls, verify every connection, pressure-test water lines, check drains, and run the heating system through a full cycle. Fix leaks, balance controls, and confirm permits and inspections are complete. Keep photos, equipment details, test results, and warranties with your renovation records; they’ll help future repairs go smoothly. Like a Roman aqueduct with a smart thermostat, a well-planned upgrade can serve you reliably for years. Don’t skip final checks: they’re far cheaper than reopening finished walls later.