 MartinShields
Restoring original features starts with a careful inspection, not a shopping list. Document each room, surface, and repair with photographs and notes, then compare what you find with historic records and local preservation rules. You’ll need to decide which details to preserve, repair, or replace—and choose materials that suit the home’s age and construction. A few common restoration choices can cause lasting damage if you get them wrong.
Key Takeaways
- Inspect every room and exterior, photographing and mapping cracks, finishes, repairs, architectural details, and landscape features before disturbing anything.
- Research historic photographs, regional guides, catalogs, and records to identify original materials and later alterations; confirm local review requirements.
- Prioritize retaining and repairing significant original features, replacing only missing, unsafe, or irreparably damaged elements, and document each decision.
- Restore floors, moldings, windows, doors, and hardware with compatible materials and targeted repairs that preserve historic fabric and finishes.
- Test cleaning methods and finish samples discreetly, address energy upgrades compatibly, and consult preservation specialists when damage or authenticity is uncertain.
Inspect and Document Your Historic Home
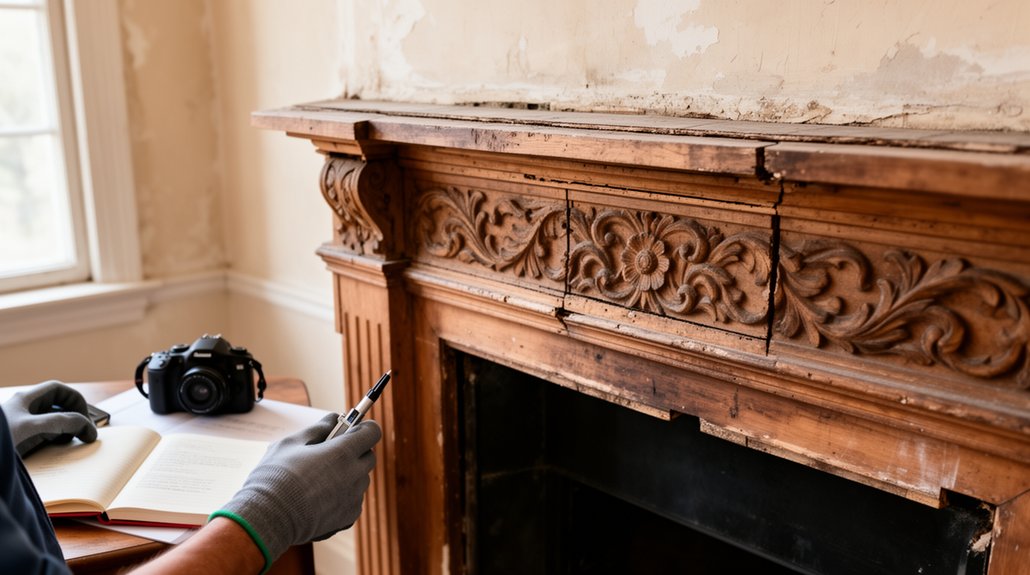
Before planning any restoration work, inspect your historic home carefully and document what you find. Walk through each room and exterior area with a notebook, camera, and flashlight. Record cracks, water stains, loose finishes, and signs of previous repairs; note their locations and approximate dimensions. Photograph features from several angles, including close-ups that show materials and damage. Don’t move or remove components during this initial survey.
Look beyond the building, too. Document the Historic landscape, noting mature trees, paths, walls, and drainage patterns that may affect the structure. Examine Architectural ornamentation, such as moldings, trim, brackets, and carved details, and record missing or altered pieces. Label images consistently, date your notes, and sketch relationships between features.
This baseline helps you track conditions, prioritize concerns, and communicate accurately with qualified professionals.
Check Period Details and Local Preservation Rules
Once you’ve documented the home, research which features belong to its original period and which may reflect later changes. Compare your observations with reliable references on Architectural styles, including regional building guides, historic photographs, and period catalogs.
Check details such as window profiles, trim, hardware, rooflines, and materials; dates and construction methods can help distinguish original work from later alterations.
Consult your local historic preservation office before planning work. Local regulations may require permits, design review, or approval for changes to designated properties, even when work seems minor.
Ask which standards apply, what documentation officials expect, and how long review takes. Confirm requirements with your municipality and any preservation easement holder.
Keep notes, source citations, and agency guidance together so you can make informed decisions during the next stage of your project.
Decide What to Save, Repair, or Replace
With the home’s period details and preservation rules in mind, assess each feature by its condition and significance before choosing a course of action. Photograph and document original windows, doors, trim, floors, and hardware, noting damage and previous alterations.
Save intact features that define the home’s character; protect them during work. Repair deteriorated elements when you can retain their original fabric and function. Replace only features that are missing, unsafe, or beyond practical repair, and record why you made that decision.
Consider modern energy efficiency without sacrificing significant historic details. You might improve comfort through discreet upgrades rather than removing original windows or changing visible profiles.
Plan contemporary design integration around the home’s character, keeping new interventions distinct yet compatible. If you’re unsure whether a feature merits repair or replacement, consult a preservation professional before proceeding.
A careful assessment helps you prioritize work, control costs, and avoid irreversible losses.
Choose Materials That Suit the Original Home
Research the home’s original materials before choosing replacements, using surviving features and reliable records as evidence.
Match period finishes to preserve its character, and weigh authenticity against durability where modern materials may perform better.
You’ll make sound choices by considering appearance, maintenance, and compatibility with the structure.
Research Original Materials
Which materials best suit a historic home? Start by documenting what remains. Examine trim, flooring, masonry, hardware, and concealed areas for clues about original construction. Photograph details, note dimensions, and record material types before removing or replacing anything.
Consult old photographs, building permits, property records, and local archives to verify what you find. Ask a preservation specialist or experienced craftsperson to identify unfamiliar materials; don’t rely on appearance alone. A modern substitute may look convincing yet perform poorly or damage historic fabric.
Use Vintage paint samples and Antique fixtures as research evidence, not automatic specifications. Check whether they’re original, later additions, or replacements, and compare them with reliable records. When evidence conflicts, document the uncertainty and choose a compatible, repairable material that respects the building’s age and construction.
Keep your findings organized to guide purchasing and restoration decisions.
Match Period Finishes
Once you’ve documented the home’s original materials, choose finishes that suit its period and construction. Matching period finishes starts with comparing surviving surfaces, paint layers, hardware, and trim details. Check historic photographs and local records when evidence is incomplete, then select products with the right composition, color, sheen, and profile.
Don’t assume a modern equivalent will look or behave like the original; test samples in place and view them in changing light.
Achieving authentic textures requires attention to how craftspeople applied each finish. Match brushwork, grain, plaster movement, and metal patina where the evidence supports them. Use period-appropriate techniques, and prepare surfaces according to the material rather than relying on a uniform process.
Record your selections, suppliers, and test results so you can repeat the finish consistently across rooms and architectural features.
Balance Authenticity and Durability
How do you preserve a historic home’s character without choosing materials that wear out too quickly? Start by examining the original construction, exposure, and maintenance demands. Choose materials that match the home’s scale, texture, and appearance, but don’t assume every historic product performs well in your climate.
Where practical, repair sound original elements and replace only what’s beyond repair. For replacements, select compatible materials that age gracefully and won’t trap moisture or damage adjacent fabric. A skilled preservation professional can help you compare options, including discreet upgrades that support Modern safety and energy efficiency without altering defining features.
Check local preservation rules before ordering materials, and request samples to assess color and finish in place. Document your choices and maintenance plan so future work protects both the home’s character and long-term durability.
Restore Historic-Home Floors and Moldings
Historic floors and moldings reward careful restoration, not aggressive refinishing. Begin by documenting each room’s materials, patterns, wear, and previous repairs.
Test finishes in an inconspicuous spot before choosing a cleaning method; harsh chemicals and heavy sanding can erase original surfaces.
For sound wood, use Floor restoration techniques that preserve patina: clean gently, secure loose boards, and sand only when necessary, removing the least material possible.
Match replacement boards by species, width, grain, and cut, then test stain and finish samples under the room’s natural light.
Apply molding preservation tips by dusting with a soft brush, retaining intact paint layers where practical, and repairing cracks with compatible materials.
Don’t strip profiles indiscriminately; record details before any removal. Label salvaged pieces, protect floors during work, and consult a preservation specialist when finishes or construction remain uncertain.
Repair Historic Windows, Doors, and Hardware
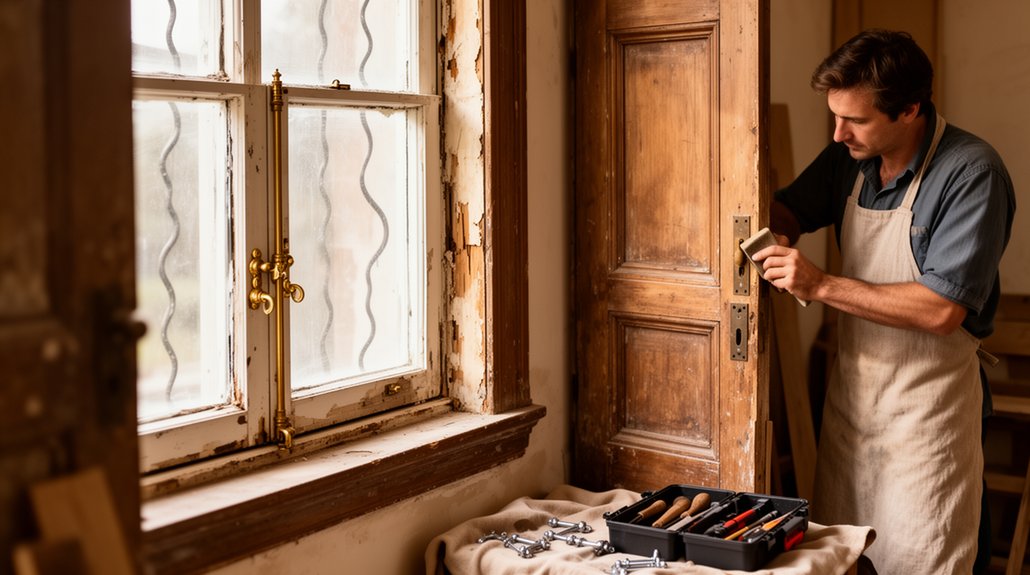
Inspect historic windows for failed glazing, damaged sash, and air leaks before choosing repairs that retain sound original material.
Restore original doors by correcting alignment and repairing joints rather than replacing them.
Preserve period hardware, and clean or repair each piece with methods suited to its material and finish.
Repair Historic Windows
Before replacing a historic window, determine whether you can repair it. Inspect the frame, sash, joints, and glass carefully, noting rot, loose components, and failed coatings.
Probe suspect wood with an awl; sound material should resist. You can often preserve original fabric through targeted sash repair, replacing only decayed sections with matching wood and sound joinery.
Remove loose putty without damaging the glass, then renew the window glazing and secure each pane with appropriate points. Repair or replace broken glass with a compatible match where feasible.
Scrape failing paint, prime exposed wood, and apply durable exterior paint, keeping moving surfaces clear.
Check that the sash opens, closes, and locks smoothly; adjust cords, weights, or hardware as needed.
Address drafts with discreet weatherstripping, but don’t seal drainage paths.
If damage exceeds your skills, consult a preservation specialist before removing original materials.
Restore Original Doors
A sticking or drafty door may need repair rather than replacement. First, inspect its frame, joints, panels, and threshold to locate the cause. Check for loose connections, swollen wood, worn weatherstripping, or settling before you remove material.
Tighten joints with suitable adhesive and clamps, then replace only damaged sections with matching wood. Preserve the door’s original profile, dimensions, and finish wherever possible; careful Door craftsmanship protects its character and fit.
If the door binds, identify the contact point and plane only the minimum necessary. Correct frame alignment before trimming the slab, and seal exposed wood to limit moisture changes.
Replace failed weatherstripping with a discreet, compatible product, then test the latch and swing. For complex damage, consult a preservation specialist.
Thoughtful hardware restoration can support reliable operation while retaining the door’s historic integrity.
Preserve Period Hardware
When original hardware still works, preserve it rather than replacing it with modern fittings. Antique hardware carries evidence of Period craftsmanship, from hand-cut screws to carefully shaped hinges. Before you remove anything, photograph each fitting in place and label its location.
Test latches, locks, and sash fasteners gently; don’t force parts that stick. Clean metal with a soft brush and mild soap, then dry it thoroughly. Avoid aggressive polishing, which can erase finishes and tool marks.
Tighten loose screws carefully, using a correctly sized driver to protect their heads. If a component is damaged, consult a specialist in historic hardware before sourcing a replacement. Match any necessary new piece to the original’s material, profile, and finish.
Keep removed parts safely stored, and document repairs so future owners can maintain them accurately.
Add Comfort Without Losing Historic Character
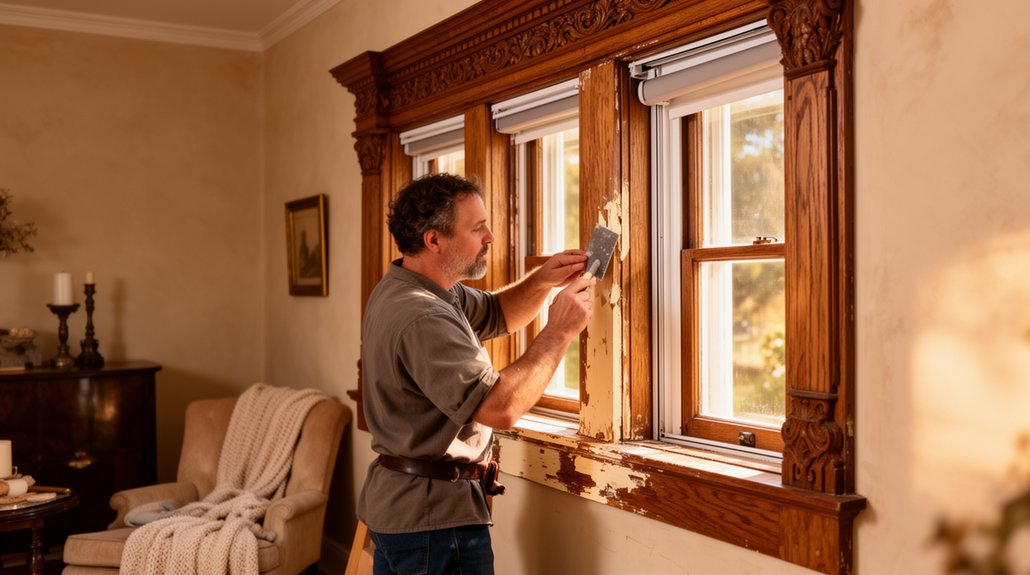
Comfort and historic character can coexist when you make upgrades that respect the home’s original materials and proportions. For Modern comfort, start with discreet improvements: add insulation where it won’t trap moisture, seal drafts around windows, and install efficient heating controls. These measures can lower energy use without replacing sound historic fabric.
Preserve original windows whenever possible. Repair sash cords, weather-strip frames, and use interior storm panels to improve performance while retaining their profiles.
If you need new wiring or plumbing, route services through closets, basements, or existing chases rather than cutting decorative surfaces.
Choose lighting, switches, and climate equipment that suit the rooms’ scale and period details. Maintain aesthetic harmony by concealing ducts and selecting unobtrusive fixtures.
Before work begins, consult a preservation professional and check local requirements. Test upgrades carefully to protect finishes and ensure lasting comfort.
Conclusion
Restoring a historic home takes patience, research, and careful choices. You’ll protect its character by documenting what remains, checking local rules, and saving sound features before considering replacements. Match materials and finishes to the original, and repair floors, moldings, windows, doors, and hardware with proven methods. Add modern comfort discreetly, without obscuring historic details. Think of each restoration as a bridge between generations: preserve the evidence of the past while making the home safe, functional, and welcoming for the future.