 MartinShields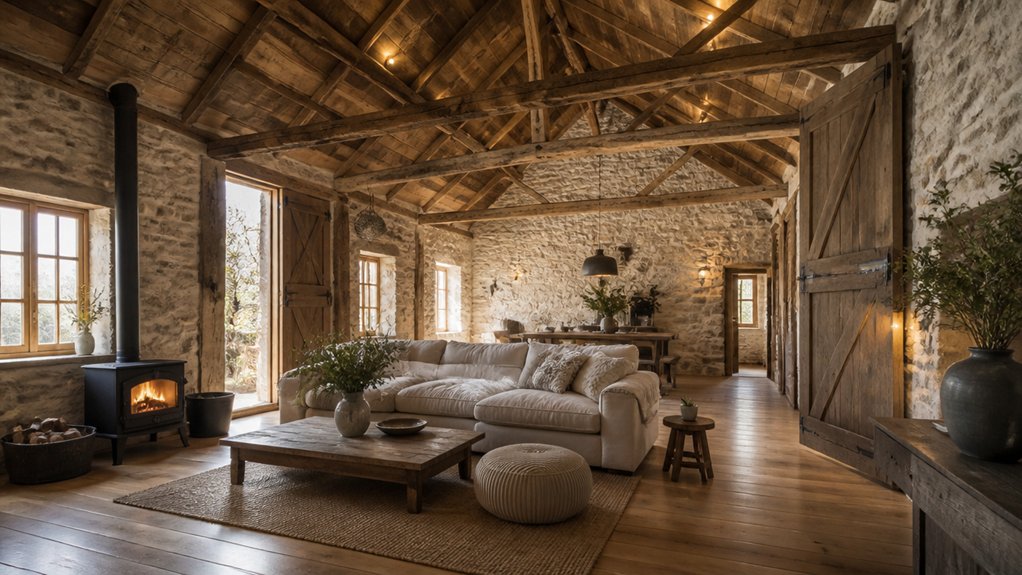
Turning an old granary into a comfortable home takes more than adding insulation and a kitchen. You’ll need to assess the structure, check planning and building requirements, and control damp before choosing a layout or finishes. High ceilings, thick walls, and limited services can shape every decision, from window placement to heating. Start with a clear plan, because one early check can determine whether the conversion is practical at all.
Key Takeaways
- Check planning, heritage, zoning, and building-control requirements before converting the granary into a home.
- Have a structural engineer inspect the foundations, walls, roof, and floors; repair defects before starting interior work.
- Trace and resolve damp, then install compatible insulation and balanced ventilation to keep the building comfortable and dry.
- Plan plumbing, heating, electrics, lighting, and fire safety around the layout, with accessible routes for maintenance.
- Choose practical finishes and furniture that suit the building, preserve its character, and make the available space comfortable.
Check Whether Your Granary Can Become a Home
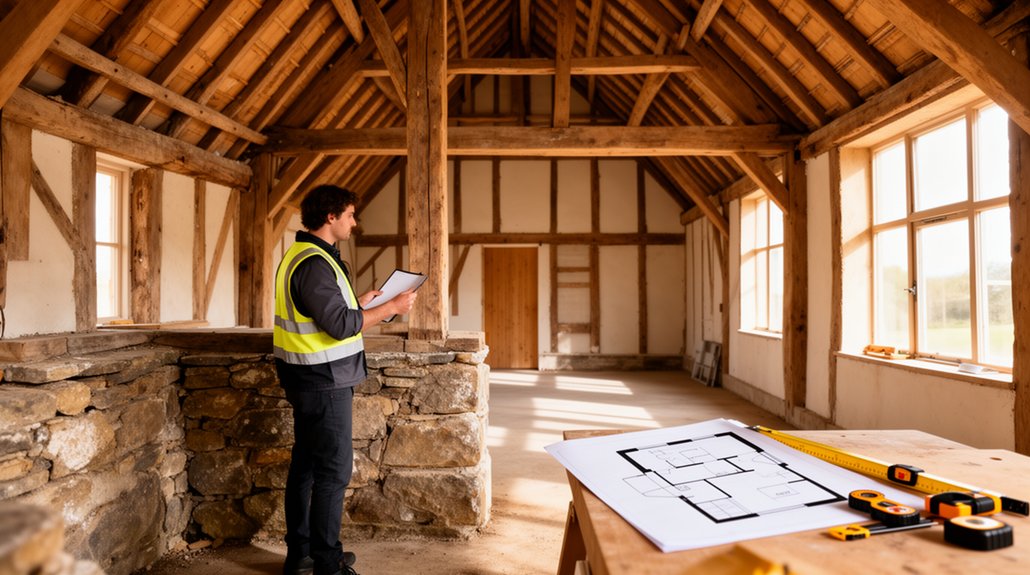
Before planning a conversion, check whether your granary can legally and structurally become a home. Start by confirming its original use, ownership records, and any heritage designation; Historic preservation requirements may limit changes to its exterior or historic features.
Then inspect the building with a structural engineer. Check the foundations, load-bearing frame, roof, and floor capacity, especially if you’ll add insulation, partitions, or a second level. Look for rot, corrosion, pest damage, and signs of movement.
Assess whether the walls can support suitable windows and whether the building’s dimensions allow safe access and usable rooms. Consider how existing features could support aesthetic enhancement without compromising their character.
If the structure has serious defects or little practical space, reassess the project before investing in detailed design work.
Check Planning Permission, Building Rules, and Costs
Once the building’s suitability is clear, check local planning rules before committing to a design or budget. Contact your planning department to confirm whether the change from agricultural storage to a home needs permission. Ask about zoning regulations, heritage protections, access, parking, and any limits on windows or extensions. Don’t assume an existing building qualifies for permitted development; rules vary by location and property.
Next, identify the Building permits and approvals your project requires. Building control will assess safety, insulation, ventilation, fire protection, drainage, and energy performance. Get requirements in writing, and consult a qualified designer if the process or standards aren’t clear.
Request itemised estimates for professional fees, applications, surveys, and construction. Include taxes and a contingency for unexpected costs. Compare quotes on the same scope, then confirm funding covers the full project before work begins.
Repair the Granary’s Structure and Control Damp
Before planning interior work, have a structural engineer check the granary’s walls, roof, floors, and foundations for movement, rot, or failing masonry.
Trace damp to its source, checking drainage, roof leaks, gutters, and ground levels.
Repair defects and choose suitable breathable materials so moisture can escape rather than become trapped.
Assess Structural Integrity
Assess the granary’s structure before planning interior work: check the roof and walls for leaks, cracks, bulging, and loose masonry. Inspect floors, beams, and foundations for rot, movement, or insect damage. Note where defects occur and photograph them so you can track changes.
Check whether doors and windows stick, as this may indicate shifting. Don’t remove posts, braces, or partitions until a structural engineer confirms they’re nonstructural.
Ask a qualified engineer to assess foundation stability and load bearing capacity, especially before adding rooms, stairs, or heavy fixtures. They can identify hidden weaknesses and specify suitable repairs, such as replacing damaged timber, repointing masonry, or reinforcing beams.
Get required approvals before work begins, and use experienced contractors for repairs. Recheck the structure after repairs before proceeding with interior finishes.
Control Moisture and Dampness
With structural repairs complete, control moisture before adding insulation or finishes. Trace damp to its source: inspect roof coverings, flashing, gutters, downpipes, masonry joints, and ground levels. Repair leaks and redirect rainwater away from the walls.
Check for rising damp, condensation, and water entering through the floor; each needs a different remedy. Don’t seal wet stone or brick behind impermeable coatings, which can trap moisture and worsen decay.
Choose damp proofing techniques suited to the granary’s construction, such as repointing with compatible lime mortar or improving drainage. Where appropriate, install moisture barriers beneath floors or within wall assemblies, ensuring they won’t block the building’s natural drying.
Allow repaired materials to dry fully, then monitor humidity and ventilation through changing seasons. Confirm the structure stays dry before fitting insulation, plasterboard, or cabinetry.
Insulate the Granary and Plan for Ventilation
Choose insulation that suits the granary’s walls, roof, and moisture conditions. You’ll need to preserve the building’s fabric while limiting heat loss.
Plan ventilation to remove moisture and provide steady fresh air.
Choose Suitable Insulation
Because a granary’s walls and roof weren’t designed for year-round living, insulation needs to suit the building’s construction and local climate. Before choosing materials, check the structure for damp, leaks, and decay; insulation won’t fix these problems, and trapped moisture can damage timber or masonry.
Ask a building professional to assess the walls, roof, and floor, especially if the granary has historic features. Then compare insulation types by thermal performance, thickness, fire safety, and compatibility with existing materials.
You’ll need effective thermal barriers at the roof, walls, and floor, but avoid covering breathable surfaces with systems that could trap moisture. Consider eco friendly materials such as wood fibre, cellulose, or sheep’s wool, checking their suitability for your building and budget.
Fit insulation carefully around joists and openings to limit heat loss.
Plan Effective Ventilation
Once you insulate the granary, plan how fresh air will move through it. A tight envelope reduces drafts but can trap moisture, odors, and indoor pollutants. Map each room’s air supply and exhaust before choosing equipment.
For effective Airflow optimization, provide fresh air to bedrooms and living areas, then extract stale air from kitchens, bathrooms, and laundry spaces. Keep transfer paths open with door undercuts or grilles, and avoid blocking vents with furniture.
Balanced Ventilation systems can recover heat while supplying filtered outdoor air, helping control energy costs in cold weather.
Ask a qualified designer to size ducts and fans for your floor plan and occupancy. Include accessible filters, quiet fan locations, and insulated ducts in unheated areas.
Commission the system after installation, then check airflow and adjust controls as seasons change.
Add Plumbing, Heating, and Electrical Systems
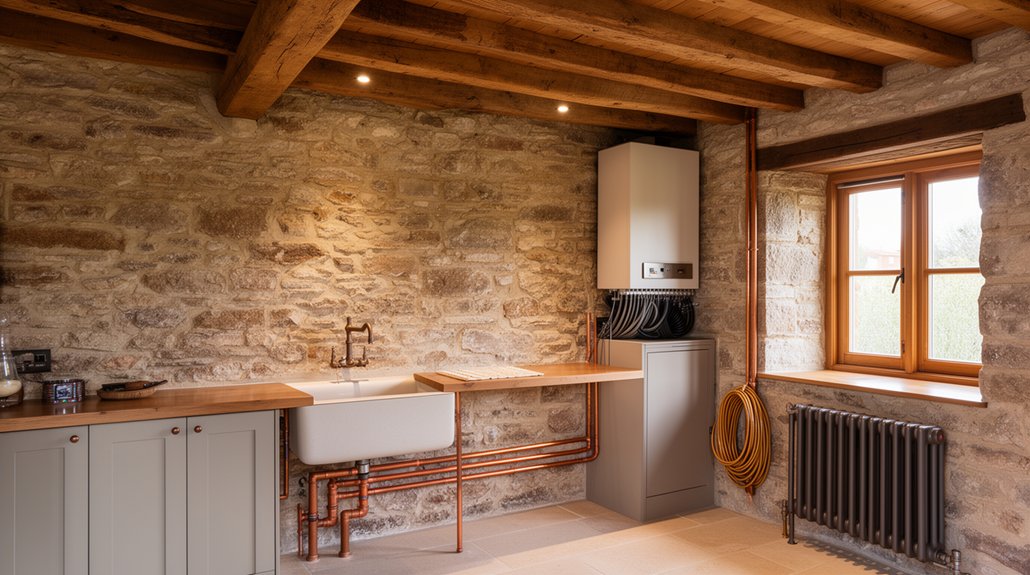
Before installing finishes, plan the plumbing, heating, and electrical systems around the granary’s layout and existing structure. Have a qualified professional inspect the building and confirm that floors, walls, and roof framing can support new equipment and pipework.
Route water and waste lines through accessible service zones, protecting them from freezing and keeping joints available for maintenance.
Choose a heating system suited to the building’s insulation and local climate; zone controls can help you heat only occupied areas.
Size electrical circuits for cooking, laundry, and heating loads, and include ample outlets, task lighting, smoke alarms, and a consumer unit with suitable protection.
Consider Smart home integration for heating controls and leak alerts.
Select energy efficient appliances to reduce running costs, and arrange inspections and approvals before covering services.
Design Practical Rooms Around High Ceilings
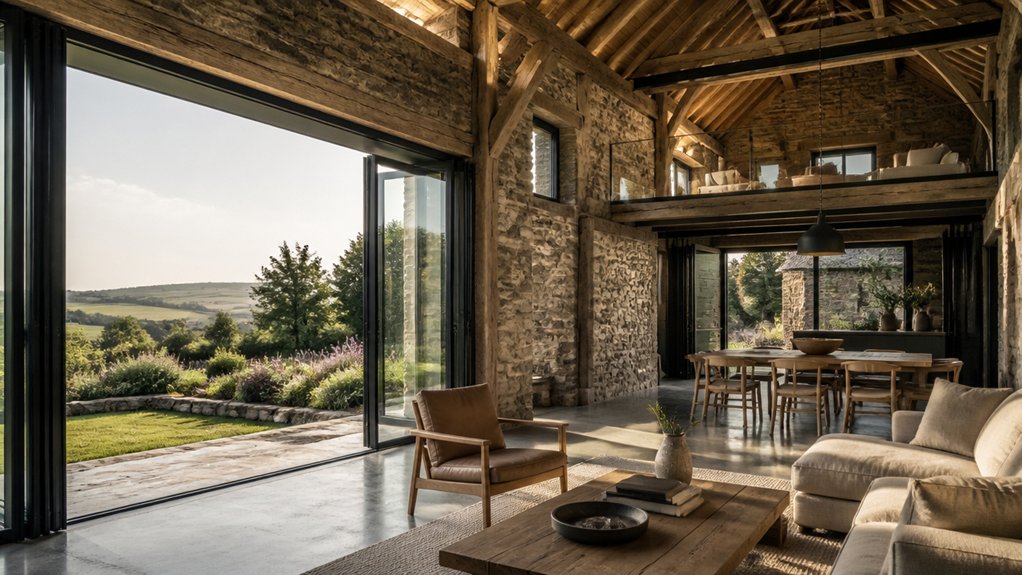
High ceilings give a granary a sense of space, but they can make rooms feel cold or difficult to furnish. Divide the volume into useful zones rather than filling every corner. Place seating, dining, and cooking areas on a human scale, using rugs, furniture groupings, and changes in flooring to define each space.
Open plan layouts suit many granaries, but you’ll need clear routes between zones and enough room for doors, storage, and everyday tasks.
Use tall shelving or a mezzanine only where the structure can safely support the load and access remains practical. Keep frequently used items within easy reach; reserve upper shelves for occasional storage.
Exposed beams, reclaimed timber, and simple finishes can reinforce rustic aesthetics without making the room feel cluttered. Choose furnishings with enough visual weight to balance the generous height.
Add Daylight and Protect Your Privacy
Balance the open feel of a granary’s high ceilings with well-placed daylight and privacy. Plan window placement around the building’s orientation, existing openings, and the rooms’ uses. South- and east-facing windows can brighten living areas, while smaller or higher openings may suit bathrooms and sleeping spaces.
Before cutting into old masonry or timber framing, have a structural professional assess the wall and specify suitable lintels.
Use roof windows to bring light into lofted rooms, but check sightlines from neighboring properties and consider summer glare. Layer window treatments to control visibility without blocking useful daylight: sheer panels soften views, while lined curtains or blinds provide privacy after dark.
Fit treatments securely to deep reveals, and choose tracks or rods that work with the granary’s tall proportions and unusual window shapes. Test samples in changing daylight before ordering.
Choose Finishes for Comfortable Year-Round Living
Choose finishes that suit the granary’s changing temperatures and the way you’ll use each room. Before choosing paint or flooring, confirm that insulation, ventilation, and moisture control work properly; finishes can’t compensate for a damp or drafty shell.
Compare Flooring options for comfort, upkeep, and compatibility with underfloor heating. Engineered timber handles seasonal movement better than solid boards, while tile suits kitchens and entryways but feels cold without a warm surface beneath it. Add rugs where you want softer footing, keeping clear of heaters and door swings.
Use breathable paints and finishes on older masonry and timber, following your conservation specialist’s advice where needed. In bedrooms, choose low-odour products and washable wall coatings.
Layer practical lighting with decorative accents, such as cushions, curtains, and artwork, to bring warmth without blocking vents or covering signs of damp.
Conclusion
You can turn a granary into a comfortable home by checking its structure, confirming permissions, and planning costs before work begins. Repair what’s damaged, control moisture, and insulate carefully; then add ventilation, reliable services, and practical rooms. Let daylight in while protecting privacy, and choose finishes that suit the building’s character. With each decision grounded in expert advice and careful planning, you’ll preserve the granary’s history, improve its comfort, and create a home that works in every season.