 MartinShields
Converting an outbuilding into guest accommodation takes more than adding a bed and fresh paint. You’ll need to check planning rules, assess the structure, set a realistic budget, and plan for insulation, heating, plumbing, and safe electrics. A well-designed layout can make even a small space comfortable and easy to maintain. Before you begin work, find out which decisions could affect the project’s cost, safety, and approval.
Key Takeaways
- Confirm planning permission, change-of-use rules, building approvals, and any property covenants before starting work or advertising.
- Inspect the structure for damage and damp, and commission a surveyor or structural engineer to identify necessary repairs.
- Set a realistic budget, measure the space, and plan a practical layout with clear walkways and efficient storage.
- Upgrade insulation, heating, ventilation, plumbing, and electrical systems to meet safety requirements and support guest use.
- Choose durable, easy-clean furnishings and finishes; test alarms and appliances, provide guest essentials, and schedule regular maintenance.
Check Planning Rules for an Outbuilding Conversion
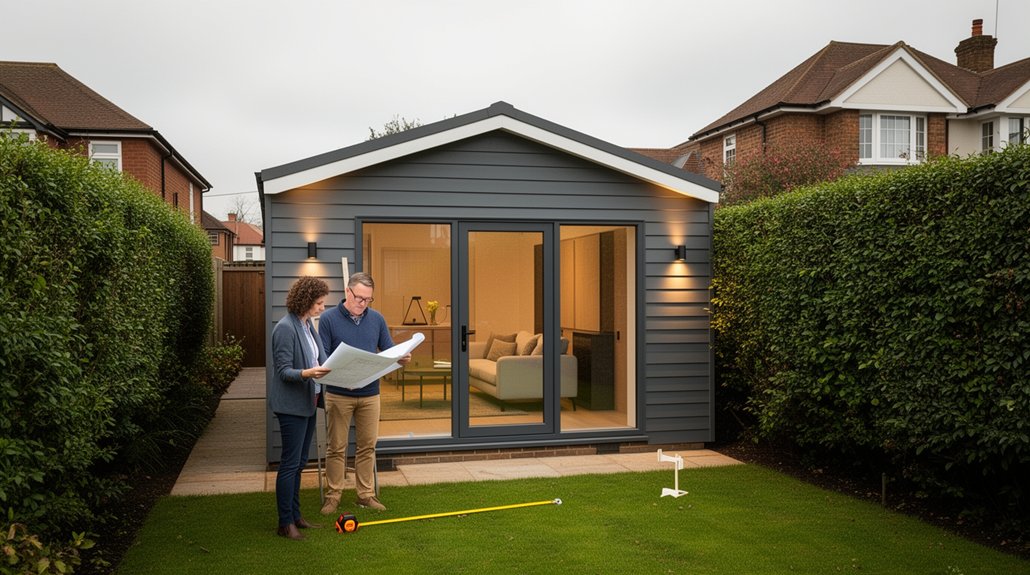
Before converting an outbuilding into guest accommodation, check with your local planning authority whether you need planning permission. Rules vary by location, property type, and intended use, so don’t assume an existing outbuilding can legally host overnight guests.
Ask whether the change of use requires consent, and check any zoning restrictions, conservation-area rules, or limits on guest numbers and stays. Your authority can also explain whether building permits or separate approvals apply to proposed work.
Provide clear details about how you’ll use the space, including whether guests will pay, how often you’ll let it, and whether you’ll add facilities or alter access. Get written confirmation before starting work or advertising accommodation.
If your property has restrictive covenants or lease conditions, review those too; planning approval won’t override private restrictions.
Check the Outbuilding’s Structure and Condition
Once you’ve checked the rules, assess whether the outbuilding can safely accommodate guests. Start with a careful visual inspection, inside and out. Look for cracks in walls, uneven floors, sagging rooflines, loose masonry and signs of water damage. These can indicate problems that need professional attention.
Check the roof, gutters, windows and doors for leaks or deterioration. Pay particular attention to foundation stability: widening cracks, movement or damp patches near the base may signal serious defects. Don’t assume cosmetic repairs will solve underlying issues.
A qualified structural engineer or building surveyor can assess structural integrity and identify hidden risks. Ask for a written report outlining necessary repairs and whether the building suits regular occupation.
Address safety concerns before planning any conversion work, and confirm that the structure can meet relevant building standards. A sound assessment now can help you avoid costly surprises later.
Set a Budget and Plan the Guest Layout
With the structure assessed, set a realistic budget before deciding how to arrange the guest space. List essential costs, including planning fees, plumbing, electrical work, finishes, and furnishings. Get quotes, check local requirements, and keep a contingency fund for unexpected work.
Decide what you can complete yourself and where you’ll need qualified tradespeople.
Measure the interior and mark doors, windows, and fixed services on a simple floor plan. Place the bed where guests can move around it easily, then allow space for seating, storage, and a practical bathroom if your budget permits.
Keep circulation clear and group services to control installation costs. Choose compact, durable furnishings that support guest comfort without crowding the room.
Coordinate finishes with the main property to create aesthetic appeal, but prioritise function over decorative extras. Review the plan against your budget before committing.
Add Insulation, Heating, and Ventilation
A well-planned layout needs a comfortable indoor climate, so address insulation, heating, and ventilation before installing finishes. Check the outbuilding’s walls, roof, and floor for moisture, leaks, and drafts; fix these problems before adding insulation.
Compare insulation types for thermal performance, fire safety, moisture resistance, and suitability for the existing structure. Install the material continuously, sealing gaps around frames and junctions to limit heat loss and condensation.
Choose heating that suits the room’s size, insulation level, and expected use. A properly sized electric heater or heat pump can provide controllable warmth without overheating the space.
Plan ventilation systems to remove stale, humid air and supply fresh air. Use extract fans where needed, and ensure vents won’t be blocked by furniture or finishes.
Follow local building requirements, and ask a qualified professional to assess unusual structures or persistent damp.
Plan Plumbing, Power, and Bathroom Facilities
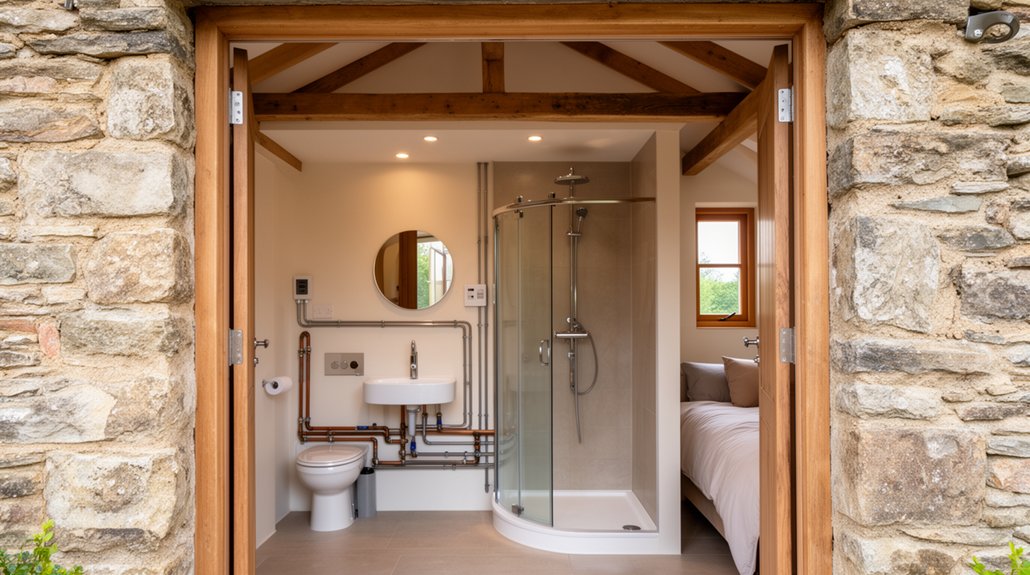
Map plumbing routes early to connect the outbuilding efficiently to water and drainage.
Check that your electrical supply can handle heating, lighting, and appliances.
Then choose bathroom facilities that fit your space, budget, and guests’ needs.
Map Plumbing Routes
Before installing fixtures, trace the shortest practical routes for water supply, drainage, and electrical wiring.
Check where existing mains enter the outbuilding and locate the nearest suitable connection points.
Your hydraulic routing should minimize bends and long runs, which helps maintain water pressure and limits heat loss.
Plan pipe positioning to avoid exterior walls, damp areas, and locations where future repairs would require removing finished surfaces.
Keep hot and cold lines accessible, insulated where needed, and separated from electrical cables according to local codes.
Map drainage with a steady fall toward the sewer connection or approved treatment system; don’t assume a route will work without checking levels.
Confirm pipe sizes, venting, backflow protection, and permissions with a qualified plumber before construction.
Mark the agreed routes on your plans and photograph concealed runs before covering them.
Size Electrical Capacity
Once the plumbing routes are set, check whether the outbuilding’s electrical supply can handle guest use. List every planned load, including lighting, sockets, heating, hot-water equipment, and appliances.
Estimate what may run at the same time, not just the total connected wattage. This gives you a realistic basis for Electrical capacity planning and helps identify whether the existing circuit can support the conversion.
Ask a qualified electrician to inspect the supply, consumer unit, earthing, and cable condition. Confirm Power supply requirements against the equipment specifications and local regulations.
If the outbuilding needs a dedicated circuit or upgraded supply, arrange the work before finishes conceal cables. Don’t rely on extension leads or assume a nearby socket provides adequate capacity.
Have the electrician verify protection, circuit ratings, and safe isolation, then document the final layout for future maintenance.
Choose Bathroom Facilities
Choose bathroom facilities to match how guests will use the space and what the building can support. Start by checking whether existing water and waste connections can serve the outbuilding; otherwise, price the required trenching, pumps, or treatment system before committing to a design. Confirm local rules for drainage, ventilation, and permitted fixtures.
Plan the bathroom layout around available floor area, door clearance, and access to plumbing runs. A compact shower, toilet, and basin may suit short stays, while longer visits may warrant more storage and a larger shower. Make fixture selection based on water pressure, hot-water capacity, durability, and ease of cleaning.
Choose efficient taps and a low-flow shower to reduce demand, but verify they’ll work with your system. Provide reliable extraction, safe lighting, and accessible shutoff valves for maintenance.
Choose Durable Finishes and Smart Storage
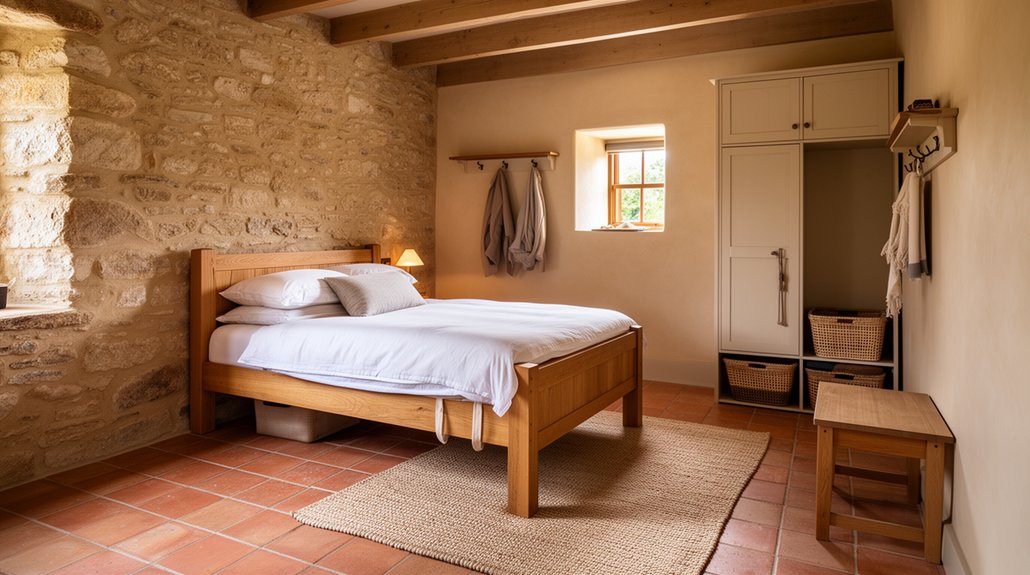
Choose hard-wearing finishes that stand up to frequent guest use and are easy to clean.
Built-in storage makes the most of limited floor space. Plan cupboards, shelves, and drawers around how your guests will use the room.
Select Hard-Wearing Finishes
Because guest accommodation sees frequent turnover, choose finishes that can withstand heavy use and clean easily. For floors, consider porcelain tile, luxury vinyl, or sealed engineered wood; each handles regular cleaning better than delicate surfaces.
In kitchens and bathrooms, prioritize moisture resistance with nonporous counters, washable wall finishes, and properly sealed grout. Select paint with a durable, scrubbable finish for high-traffic areas, and choose hardware with scratch resistance to keep doors and cabinets looking presentable.
Match materials to the outbuilding’s conditions: temperature swings and dampness can damage products intended only for stable indoor environments. Before buying, check manufacturer guidance for cleaning, installation, and expected wear.
Order samples and test them under your lighting, then confirm that your choices meet local building requirements. Durable finishes reduce upkeep between stays and help protect your investment.
Maximize Built-In Storage
When floor space is limited, built-in storage keeps guest accommodation organized without making rooms feel cramped. Plan storage around the room’s layout, leaving clear paths to beds, windows, and doors. Built-in shelving can fit above a desk, beside a bed, or within an alcove, giving guests convenient space for books and personal items.
Choose sturdy materials and moisture-resistant finishes, especially in kitchens and bathrooms, so shelves withstand frequent use.
Use hidden compartments beneath benches, beds, or stair treads to store extra linens and cleaning supplies without cluttering the room. Add drawers with smooth runners and handles guests can operate easily.
Include a few open shelves for everyday essentials, but keep most storage enclosed to maintain a tidy appearance. Measure luggage and bedding before installation, and provide labeled spaces so guests can find what they need quickly.
Furnish the Space and Get It Guest-Ready
Once the building is weatherproof, secure, and properly serviced, furnish it for comfort and easy maintenance. Choose a supportive bed, washable bedding, and durable seating sized to the room. Furniture placement should preserve clear walkways, keep doors unobstructed, and give guests convenient access to outlets and storage. Add a small table, bedside lighting, and hooks for coats or towels.
Decorative accents, such as framed prints or a rug, can make the space welcoming without adding clutter. Use hard-wearing, easy-clean finishes, and avoid delicate fabrics that demand special care.
Before arrival, test every light, appliance, lock, and heating control. Provide fresh linens, spare blankets, towels, drinking glasses, and basic toiletries. Leave clear instructions for Wi-Fi, waste disposal, and any equipment.
Check smoke and carbon monoxide alarms, confirm the room’s temperature, and remove personal items. A final walkthrough helps you spot hazards and guarantee guests can settle in comfortably.
Conclusion
Turn your outbuilding into a guest space by tackling the essentials in order: check planning rules, assess the structure, set a realistic budget, and plan for comfort, safety, and storage. Get insulation, heating, ventilation, plumbing, and electrics right before choosing durable finishes and furnishings. Then add clean linens, clear instructions, and a final safety check. Every thoughtful detail helps guests feel at home—and turns a once-forgotten outbuilding into a welcoming retreat they’ll remember.