 MartinShields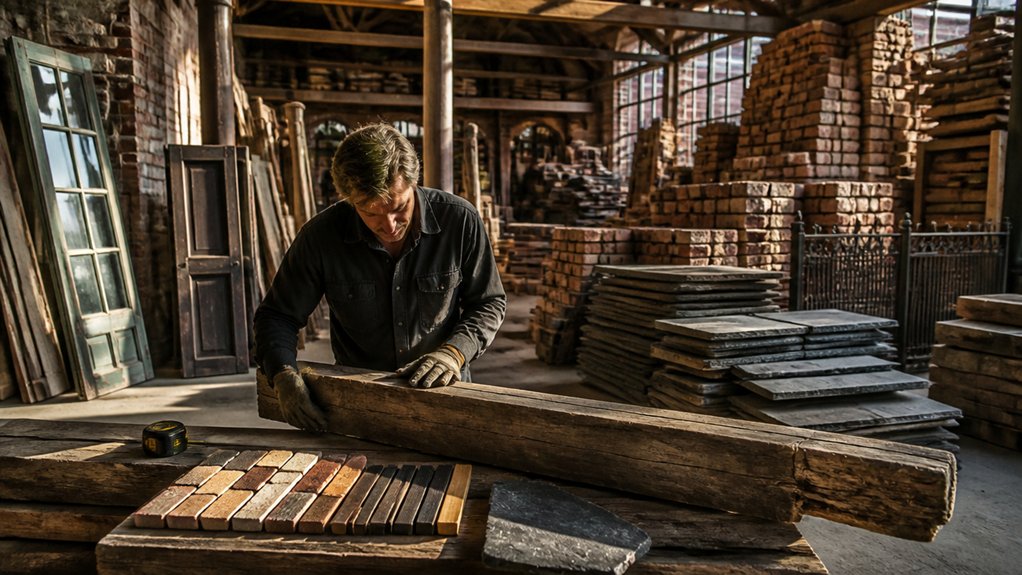
Reclaimed building materials can add character, reduce waste, and stretch your budget—but only if you choose pieces that suit your project and meet its safety needs. Start by planning dimensions, uses, and costs before you source anything. Then inspect each find, account for cleaning and repairs, and prepare it for installation. A little discipline can prevent costly mistakes; the key is knowing what to check before you buy.
Key Takeaways
- Plan reclaimed materials into the design early, allowing for variable dimensions, quantities, and performance requirements.
- Source locally from salvage yards, deconstruction firms, reuse centers, and online marketplaces; verify availability before traveling.
- Inspect materials for structural damage, pests, hazardous coatings, and treatment history; seek professional testing when needed.
- Compare total costs, including delivery, cleaning, repairs, storage, installation, and waste disposal.
- Sort, label, clean, and prepare suitable materials safely; confirm code compliance and suitability before installation.
Plan Your Project Around Reclaimed Materials
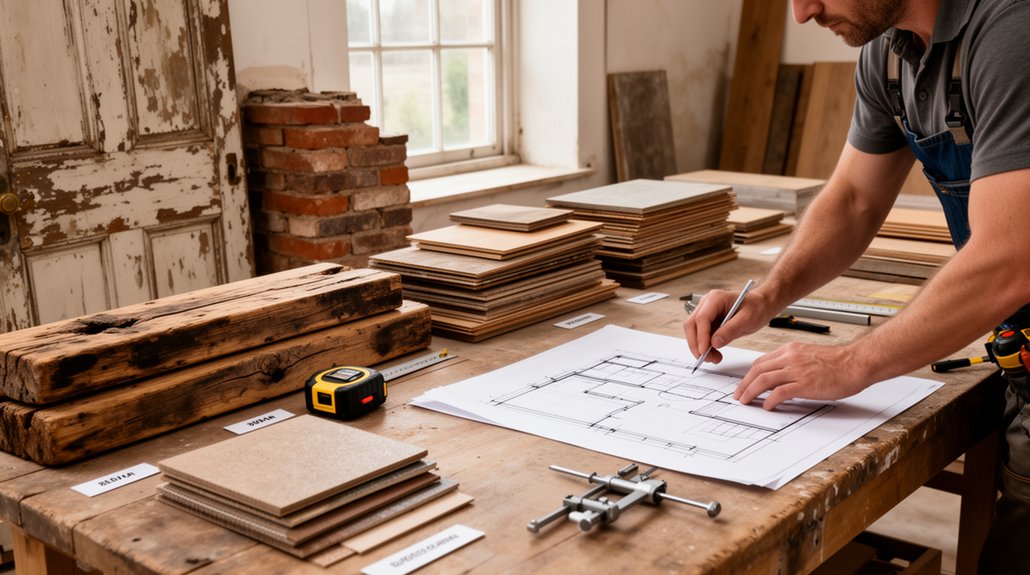
Plan your project around reclaimed materials from the outset, not as an afterthought. Define which elements can accommodate reclaimed components, such as flooring, doors, beams, or fixtures, and record their dimensions, quantities, and performance requirements.
Build flexibility into your design: reclaimed pieces vary, so exact matches and standard sizes aren’t guaranteed. Confirm structural, fire, and code requirements before specifying materials, and consult your contractor or engineer about suitability.
Allow time for cleaning, repairs, and adjustments, then coordinate installation with the project schedule.
Consider each item’s historical significance and character, but don’t let appearance outweigh safety or function. The sustainability benefits matter most when materials genuinely replace new products and remain fit for use.
Set a realistic budget that includes preparation and installation, not just purchase costs. This planning helps you make informed decisions and avoid costly redesigns.
Where to Find Reclaimed Building Materials
Once you know what your project can use, start with local architectural salvage yards and building-material reuse centers; they often stock doors, flooring, lumber, fixtures, and hardware. Call ahead to ask about current inventory, delivery, and whether staff can hold items while you arrange pickup.
Demolition contractors and deconstruction firms can also connect you with materials before a building comes down. Ask about upcoming projects and their rules for purchasing or collecting salvage.
Check Vintage shops for distinctive architectural details, lighting, and furnishings. Online marketplaces, local classifieds, and community reuse groups can uncover smaller lots from homeowners and contractors. Set alerts for relevant listings, and respond promptly; sought-after pieces can sell quickly.
You can also ask builders, remodelers, and property managers to notify you when they remove reusable materials. Keep a short list of trusted sources, and check back regularly.
Choose Materials by Size, Style, and Use
Before you buy, measure each piece and confirm it suits the job. Check dimensions against your plans, including thickness, length, and any allowance for trimming or fitting. For doors, windows, and cabinetry, verify the opening and hardware requirements; reclaimed pieces rarely match modern standard sizes.
Next, match the material to its intended use. Choose flooring, beams, or masonry based on load, exposure, and expected wear. Consider material durability in the conditions where you’ll install it, not just its appearance. A timber suited to a dry interior may not perform outdoors.
Finally, weigh aesthetic compatibility. Compare color, grain, finish, and period details with nearby surfaces and your overall design. You don’t need an exact match: a deliberate contrast can work well. Confirm quantities, too, and allow for cuts, layout choices, and future repairs.
Inspect Reclaimed Materials for Damage and Safety
Even a well-sized piece can be unsuitable if it’s damaged or unsafe. Check every item in good light before you buy or install it. Look for cracks, rot, warping, loose joints, corrosion, and missing sections.
For reclaimed timber, probe suspect areas with an awl; soft spots can signal decay hidden beneath the surface. Examine bricks and stone for crumbling edges or fractures that could weaken a wall.
Assess Material integrity in relation to the job: a cosmetic flaw may be harmless, but structural damage isn’t. Watch for safety hazards such as protruding nails, splinters, lead paint, chemical residues, or pest activity.
Ask the seller about the material’s history and any treatments. If you can’t verify its condition or safety, have a qualified professional assess it before use.
Budget for Reclaimed Timber, Brick, and More
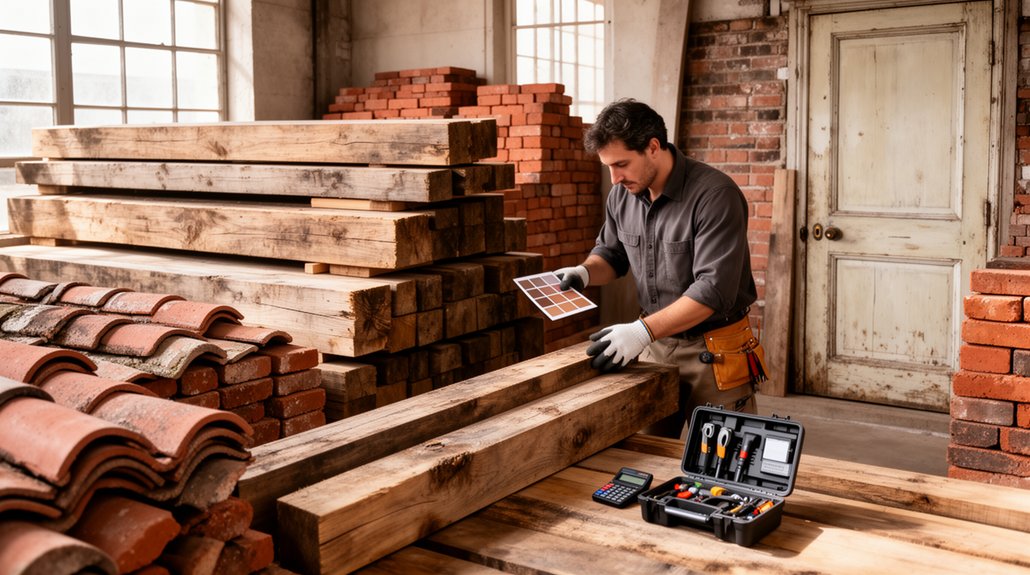
Reclaimed timber, brick, and other materials vary widely in price, so compare local quotes before you commit.
Add delivery, cleaning, repairs, and extra material to cover waste to your budget.
You can cut costs by sourcing locally, choosing readily available stock, and comparing the full installed cost with new materials.
Material Cost Ranges
Material costs vary widely by type, condition, and location, so set a range rather than relying on one price. For reclaimed timber, compare prices by species, dimensions, grade, and whether boards are cleaned or milled.
Reclaimed brick typically costs more when it’s sorted by color, size, or age; mixed lots can be cheaper if you can use varied pieces. Salvaged stone, architectural fittings, and flooring also command different rates based on rarity and usable quantity.
Check several dealers and ask for current prices per board foot, piece, or square foot. Pricing fluctuations reflect local supply, demand, and material condition.
Sourcing challenges can limit your choices, so identify acceptable alternatives before you commit. Request photos, measurements, and clear grading details, then compare like with like.
Keep your target range realistic and verify availability before finalizing your material selection.
Hidden Project Expenses
A low purchase price doesn’t guarantee a low project cost: reclaimed materials often need extra handling, preparation, and fitting. When you budget for reclaimed timber, brick, or architectural salvage, account for transport, loading, and careful unloading. Heavy or fragile pieces may require specialist carriers, equipment, or extra labor.
Allow for cleaning, de-nailing, sorting, testing, and repairs before installation. Timber may need grading or treatment; brick can require mortar removal and matching. Irregular dimensions may also increase cutting time and create waste.
Check local rules early: Unexpected permit fees can apply to structural changes, listed properties, or material disposal. Hidden storage costs add up when deliveries arrive before your site is ready; you may need secure, dry space and insurance.
Include fitting, finishing, and contingency costs so your estimate reflects the full project.
Budget-Saving Strategies
To keep reclaimed materials affordable, compare the full cost of each option—not just its price per piece. Add delivery, sorting, cleaning, repairs, and installation to your estimate. Reclaimed timber may need de-nailing or milling; brick may require careful cleaning and mortar removal.
Ask suppliers about graded stock, bulk discounts, and return policies before you commit.
Measure accurately, then buy a small surplus for breakage or unusable pieces. Match material dimensions to your design to limit cutting waste.
If premium boards exceed your budget, use them where they’ll show and choose less costly reclaimed stock for hidden framing. Keep flexibility in your schedule: sourcing locally or accepting mixed sizes can lower transport costs and expand your options.
You’ll preserve vintage aesthetics and sustainability benefits without letting restoration costs overwhelm the project budget.
Get Salvaged Materials Ready to Use
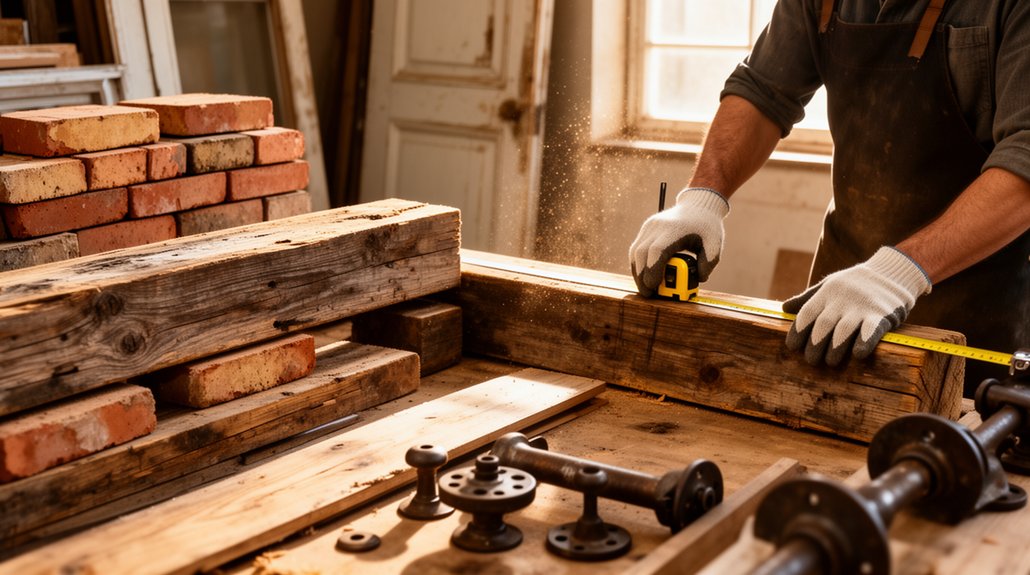
Inspect and sort salvaged materials, setting aside anything damaged or unsuitable.
Clean each piece and remove hazards such as protruding nails, lead paint, or mold.
Repair and prepare the materials to suit your installation before they go into place.
Inspect and Sort Materials
Before salvaged materials go into a project, check each piece for damage, contamination, and signs of wear. Look for cracks, rot, corrosion, loose fasteners, and warping. Test questionable areas with a probe or moisture meter, and compare findings with the material’s intended use.
Material durability matters: a sound beam may suit structural work, while a worn board may be better for shelving. Confirm dimensions, species, grade, and any markings before you commit.
Sort pieces into clear groups: ready for use, needing repair, suitable for nonstructural applications, and reject. Keep matching items together, label each batch, and record quantities and defects.
Check sourcing regulations and project requirements, especially for structural components or historically protected materials. If a piece’s condition or origin remains uncertain, set it aside until you can verify its suitability.
Clean and Remove Hazards
Once you’ve sorted the materials, clean them with methods suited to their type and condition.
Start with hazard identification: check for lead paint, asbestos, mold, chemical residues, sharp edges, and protruding nails. Don’t sand, scrape, or cut suspect coatings or fibers; have qualified professionals test and handle them.
For routine cleaning, brush off loose dirt outdoors, then use a mild detergent and water where appropriate. Avoid soaking wood or using harsh chemicals that could damage finishes or leave harmful residues.
Wear suitable gloves, eye protection, and a respirator when dust may be present. These safety precautions protect you while limiting contamination of your workspace.
Keep materials separate until they’re clean and dry, and dispose of hazardous waste according to local rules.
If you can’t identify a substance, stop work and seek expert advice.
Repair and Prepare for Installation
With hazards addressed and materials clean and dry, check each piece for damage that could affect its fit or strength. Look for cracks, rot, loose joints, warped edges, and missing hardware. Set aside anything structurally unsound; don’t rely on cosmetic repairs to restore strength.
Replace damaged fasteners with compatible, corrosion-resistant ones, and tighten sound joints with suitable adhesive or screws. For timber, fill small holes with an appropriate filler, then sand rough spots without removing useful patina.
Surface preparation should suit the material and finish: scrape flaking paint, remove residue, and test coatings on an inconspicuous area.
Confirm dimensions, thickness, and connection points before installation, trimming only where necessary. Follow safety precautions when cutting, sanding, or handling heavy pieces.
Label and store prepared materials flat, dry, and protected until you’re ready to fit them.
Create Standout Features With Reclaimed Materials
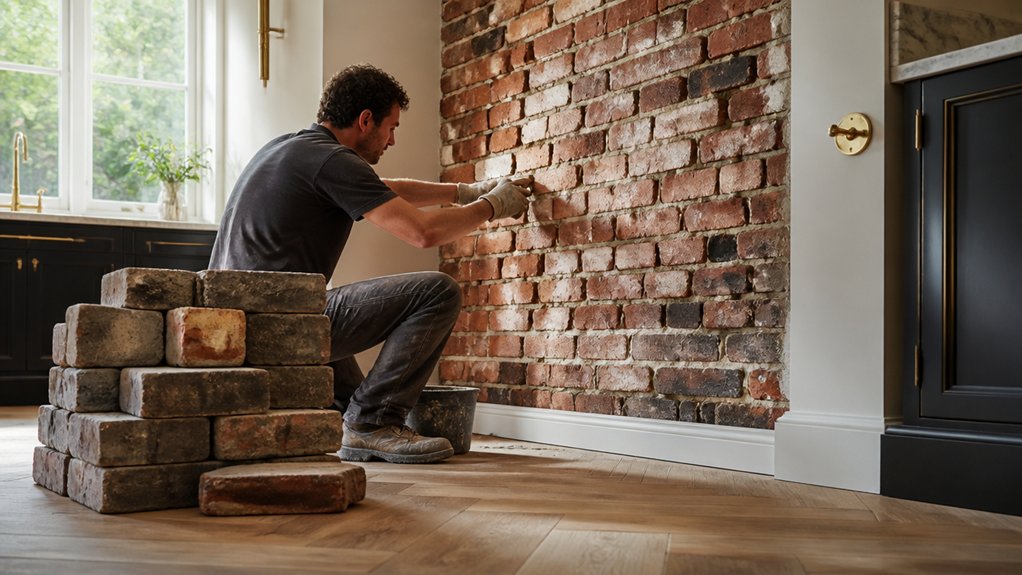
Reclaimed materials can turn an ordinary room into a memorable one when you give them a clear focal role. Use salvaged timber for a feature wall, old bricks around a fireplace, or vintage doors as a striking room divider. Choose one main element, then keep nearby finishes simple so its texture and history stand out.
Design versatility lets you adapt reclaimed pieces to rustic, industrial, or contemporary interiors. Match the material’s scale and color to the room, and plan installation around irregular dimensions.
Before committing, check material durability: inspect boards for rot, bricks for cracks, and metal for corrosion. Confirm each piece suits its intended use, especially in high-traffic or damp areas.
A thoughtful feature balances visual impact with safe, practical performance—and gives reclaimed materials a purpose worth noticing. Don’t overcrowd the space; let one distinctive detail lead.
Conclusion
Reclaimed materials can turn a project into a home with a story: old timber warms a room, and salvaged brick gives a wall quiet character. Plan carefully, source locally, and inspect every piece before it reaches your site. Set aside time and money for cleaning, repairs, and handling, then prepare materials for a safe, efficient installation. When you match each piece to its purpose, you’ll build with confidence—and give useful materials a second life that feels entirely your own.