 MartinShields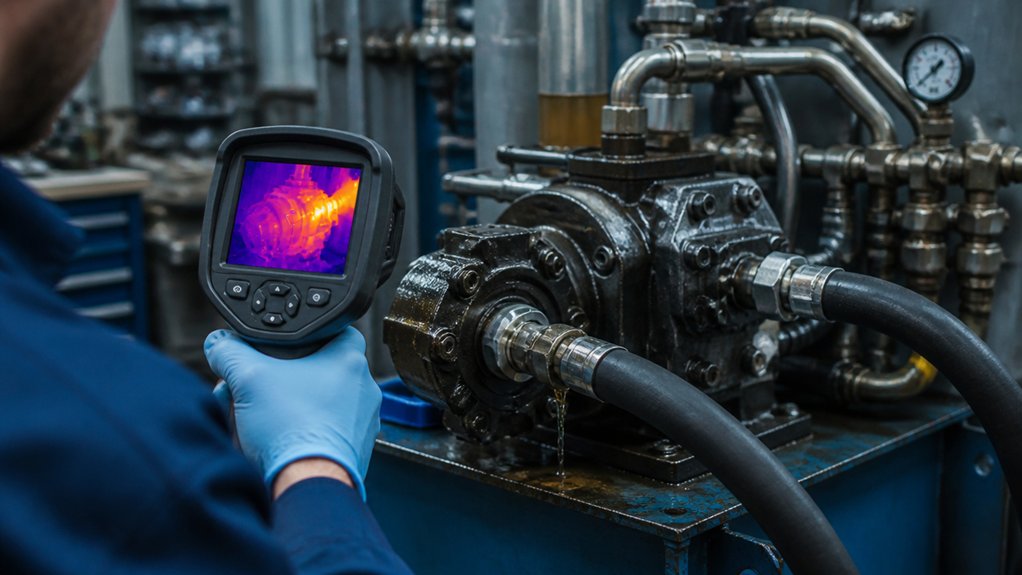
Hydraulic failures can account for a significant share of equipment downtime, and a small leak or dirty fluid can quickly turn into a costly repair. If you’re renovating or maintaining a hydraulic system, you can catch many problems early by watching for slow movement, unusual noise, heat, and changes in fluid condition. The key is knowing what to inspect first—and which warning signs point to a failure you can’t afford to ignore.
Key Takeaways
- Contaminated fluid, leaks, worn components, excessive loads, and overheating are common causes of hydraulic system failure.
- Diagnose problems early by watching for slow or jerky movement, weak pressure, inconsistent tool response, and unusual pump noises.
- Check fluid for cloudiness, particles, foam, discoloration, or a burnt smell, which can indicate contamination, air entry, or overheating.
- Inspect hoses, fittings, cylinders, reservoirs, and filters for leaks, damage, looseness, or signs of wear.
- Use manufacturer-approved procedures and rated gauges to check pressure, then record findings and test repairs under light load.
Identify Common Causes of Hydraulic System Failure

Hydraulic systems most often fail because of contaminated fluid, leaks, worn components, or overheating. When you renovate equipment or building systems, identify these causes before reconnecting a pump, cylinder, or control valve.
Fluid contamination from dust, water, or degraded seals can damage precision surfaces and restrict flow. Replace dirty fluid, clean the reservoir, and install the correct filters before commissioning the system.
Leaks often stem from aging hoses, loose fittings, or damaged seals. They lower pressure and can expose nearby materials to fluid damage.
Component wear develops when parts operate under excessive loads, poor lubrication, or prolonged service. Inspect pumps, valves, and cylinders during renovation, then repair or replace parts that no longer meet specifications.
Overheating can break down fluid and accelerate seal deterioration, so confirm cooling capacity and operating conditions match the system’s intended use.
Spot Warning Signs of Hydraulic System Failure
After checking for contamination, leaks, wear, and overheating, watch for early signs that a hydraulic system needs attention.
During renovation work, note slower cylinder movement, jerky lifts, weak pressure, or tools that respond inconsistently. These changes can signal restricted flow or failing components before a breakdown disrupts your schedule.
Listen for new whining, knocking, or rattling, and check whether the pump runs longer than usual.
Fluid contamination may appear as cloudy oil, visible particles, or a burnt smell; don’t dismiss these clues as normal aging.
Temperature fluctuations can also point to changing load, poor cooling, or internal friction, especially when equipment heats up quickly.
Record when symptoms occur and which tasks trigger them.
If performance keeps declining, pause demanding work and arrange qualified service before damage spreads or repairs become more extensive.
Check Hydraulic System Problems Step by Step
When a hydraulic system shows warning signs, check it in a safe, orderly sequence before resuming renovation work. Park equipment on stable ground, lower attachments, shut down the engine, and relieve stored pressure according to the manufacturer’s instructions. Wear appropriate protective gear; never search for leaks with your hands.
Inspect hoses, fittings, cylinders, and the reservoir for damage, loose connections, or visible leaks. Check fluid level and appearance: cloudy, dark, or foamy oil can indicate fluid contamination or air entry. Review filters and service records, then sample fluid if needed.
Next, use rated gauges and the service manual to investigate pressure anomalies. Compare readings at specified test points and operating conditions; don’t exceed limits. Record results, isolate the affected circuit, and have a qualified technician repair faults before you restart renovation work.
Prevent Common Hydraulic System Failures
Prevent common hydraulic failures by keeping fluid clean, replacing filters on schedule, and using only the specified oil. During renovation, inspect hoses, fittings, cylinders, and pumps before reconnecting equipment. Replace cracked lines and worn seals rather than patching parts that can’t handle operating pressure.
Check hydraulic fluid levels and look for discoloration, foam, or a burnt smell; these signs can point to contamination or overheating. Keep reservoirs sealed while you work, and use clean tools when adding oil. Don’t mix fluid types unless the manufacturer approves it.
Build system maintenance into your project schedule. Tighten loose connections, clear debris from cooling surfaces, and test pressure after repairs. Record fluid changes, leaks, and component replacements so you can spot recurring problems.
Before returning renovated machinery to service, run it under light load and confirm smooth, leak-free operation.
Conclusion
You can prevent most hydraulic failures by keeping contamination, leaks, worn parts, and overheating in check. Inspect fluid condition, listen for unusual noises, watch for sluggish movement, and test pressure when performance changes. Record what you find, then repair the underlying cause—not just the symptom. A few minutes of routine checks can save you a mountain of repair costs and downtime. Protect your equipment with consistent maintenance, and you’ll keep renovations moving safely and efficiently.